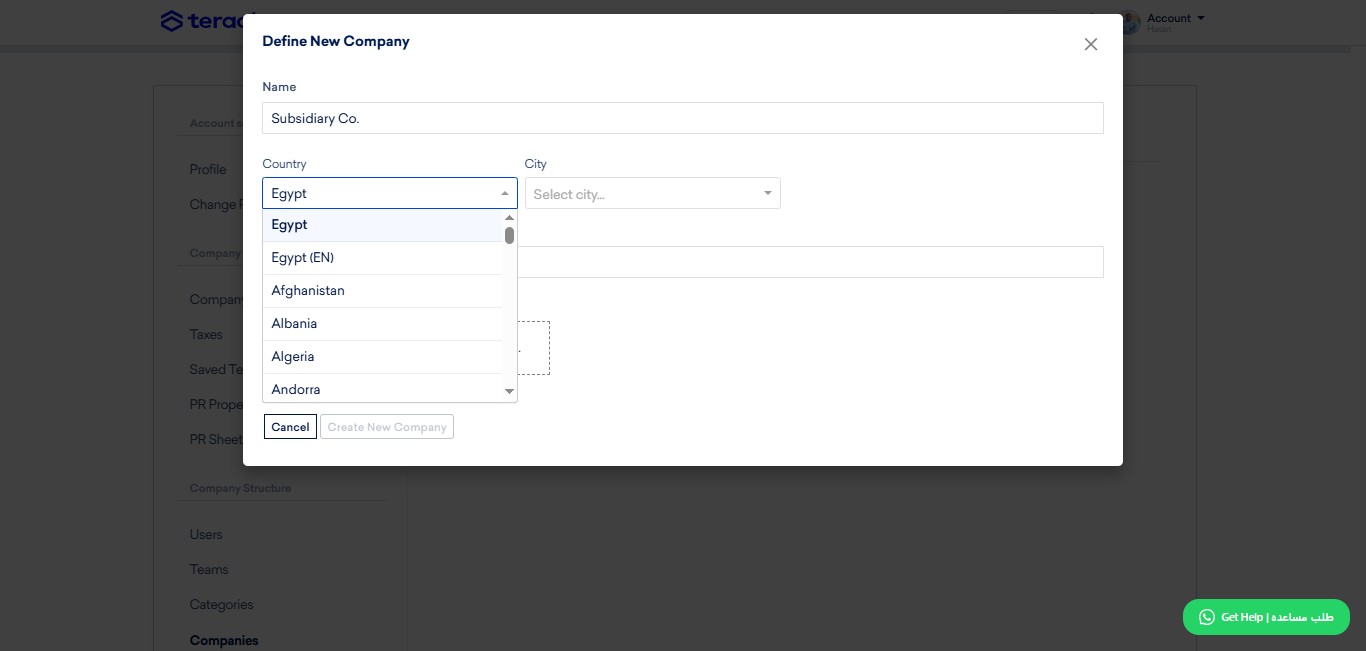
How to configure Settings?
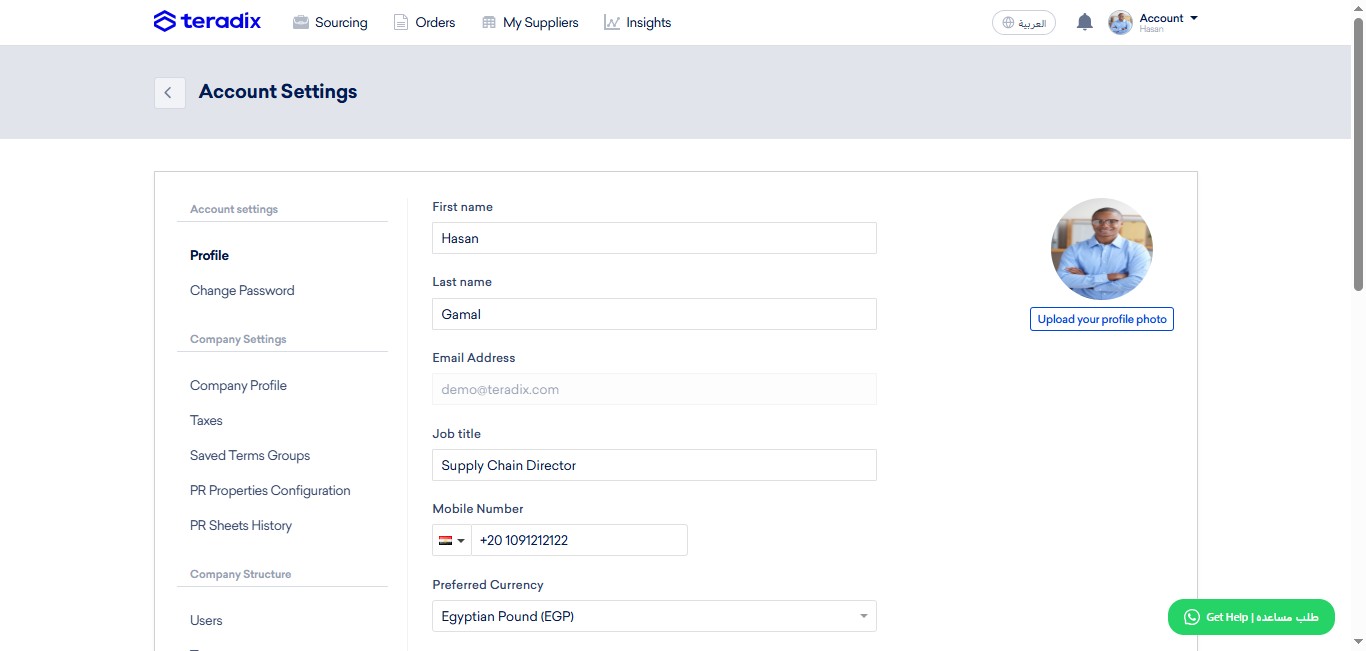
Navigate to https://app.teradix.com/edit/profile
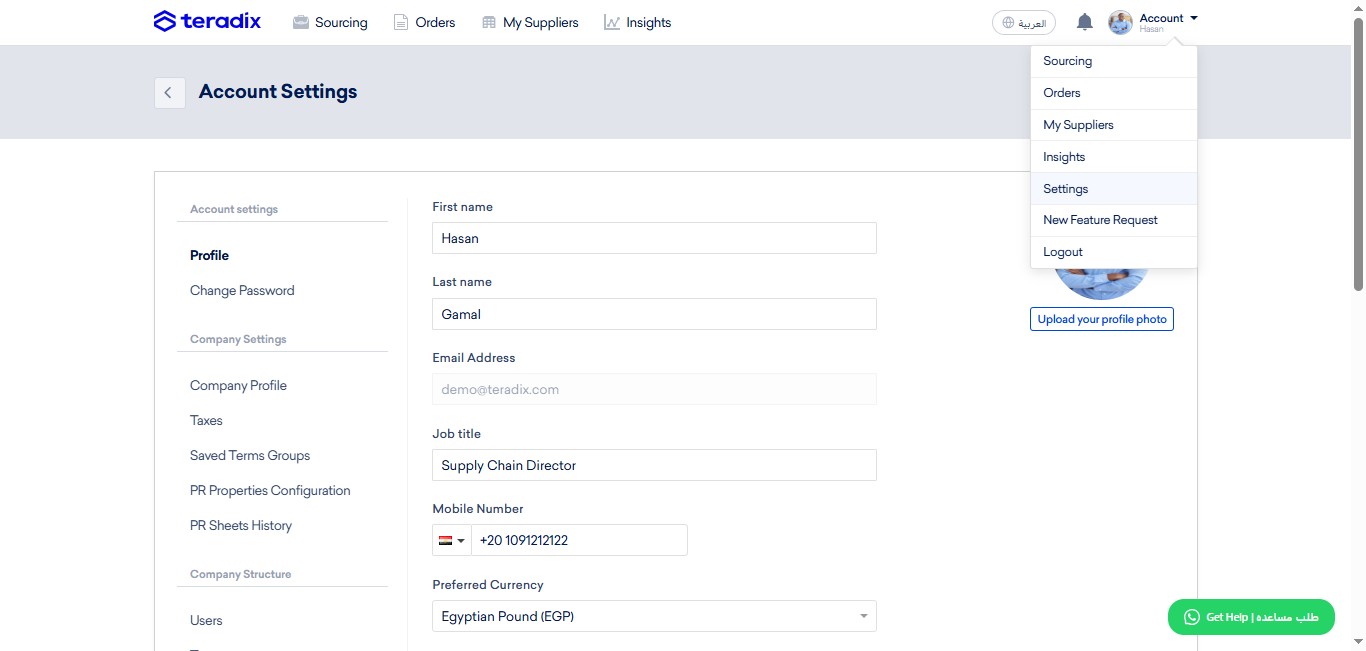
Click on "Account"
Click on "Settings"
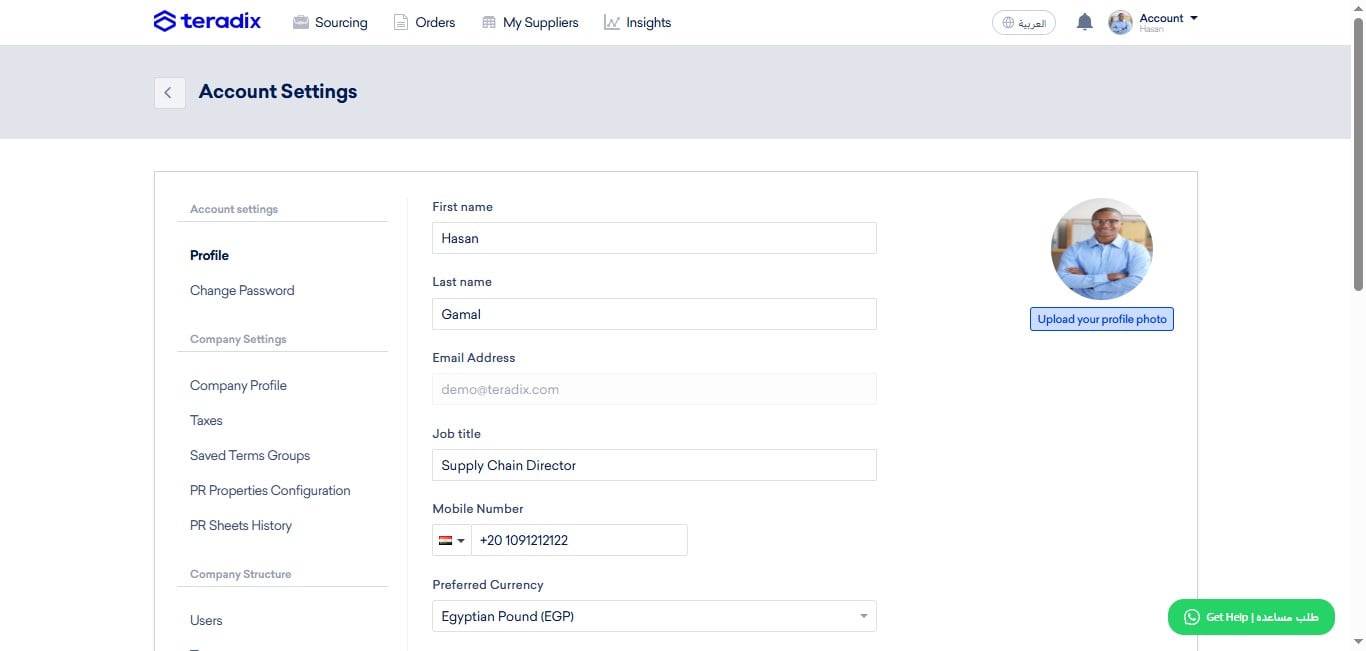
Click on "Upload your (personal) profile photo"
Write here your first Name.
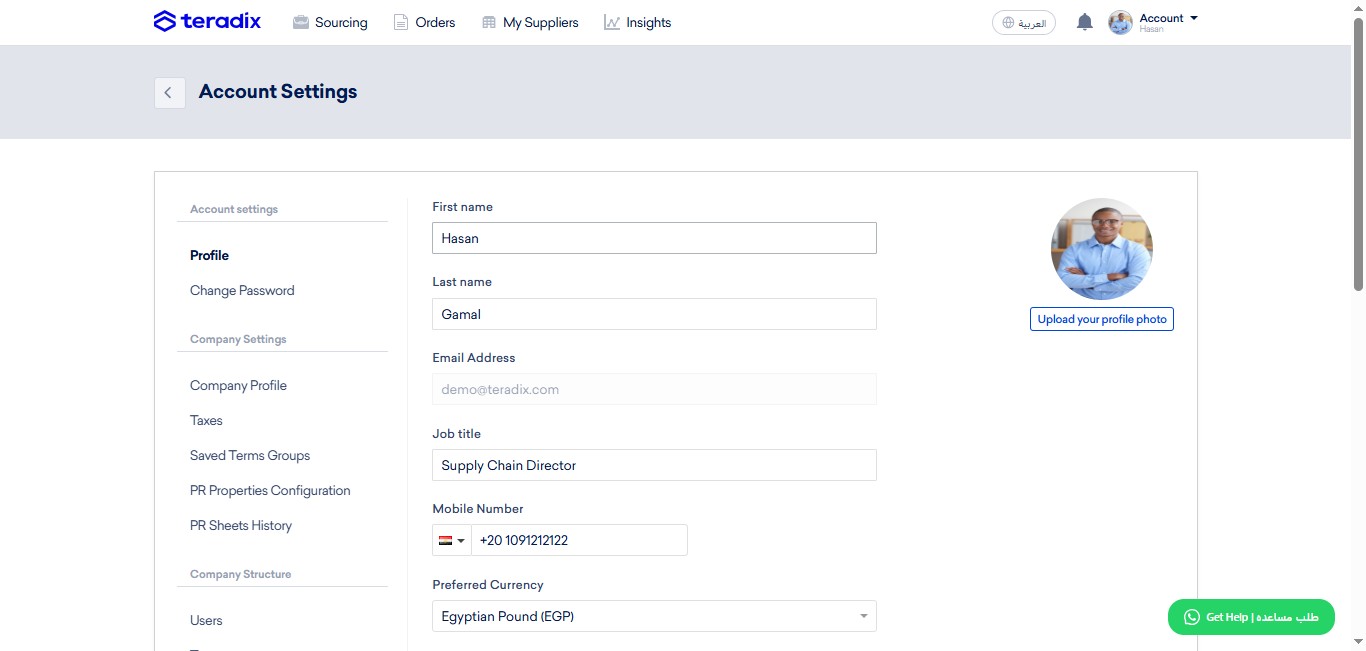
Write here your last Name.
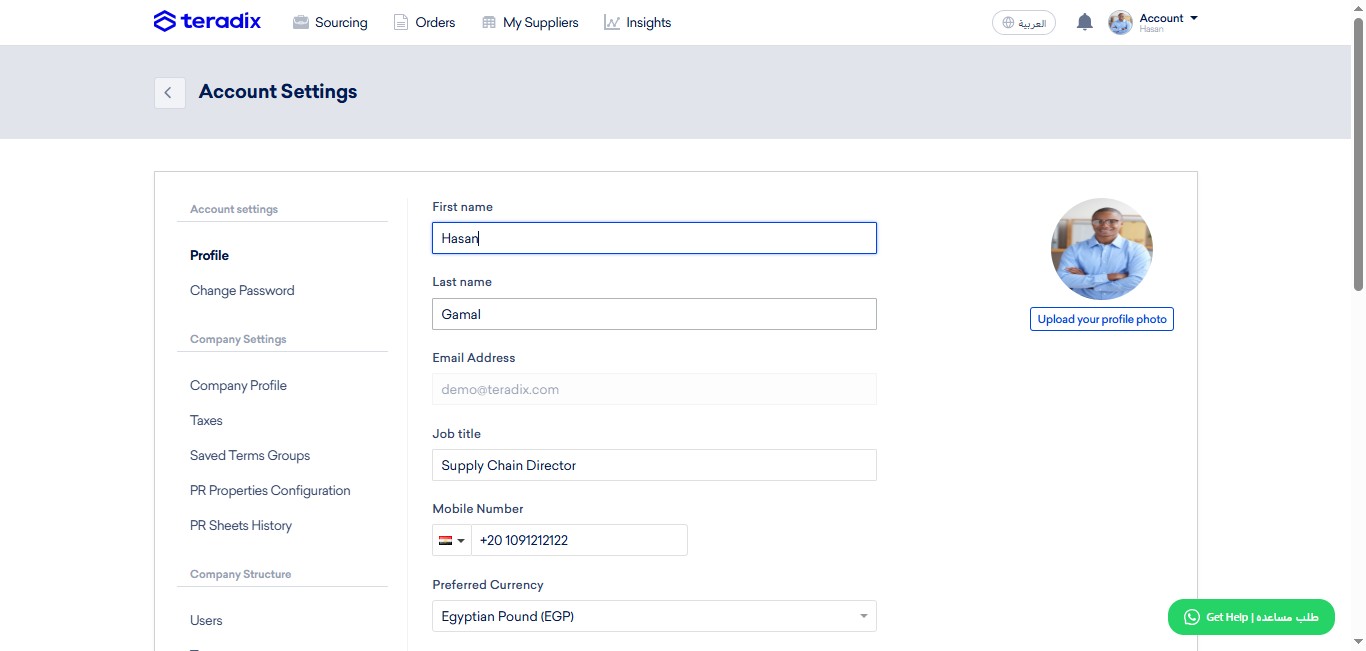
Write here your Job Title; which appears to suppliers in RFx.
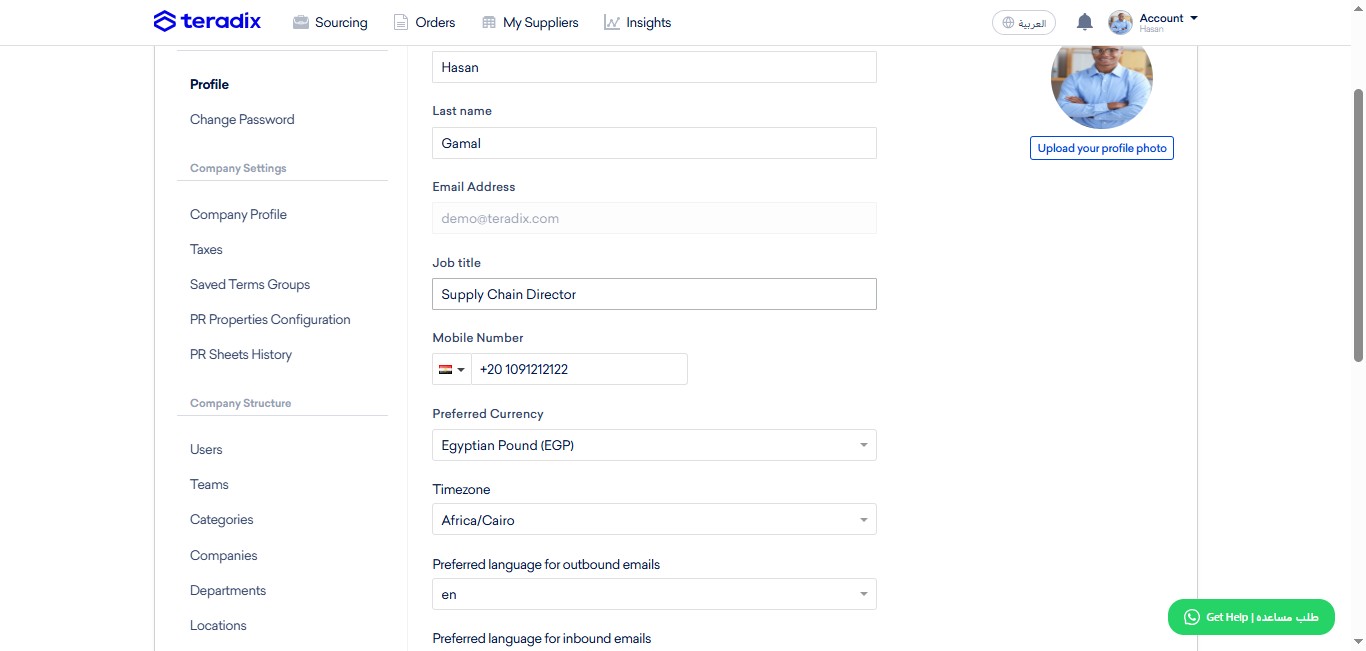
Mobile Number: make sure to start with (+) area code; flag auto-appears once area code added.
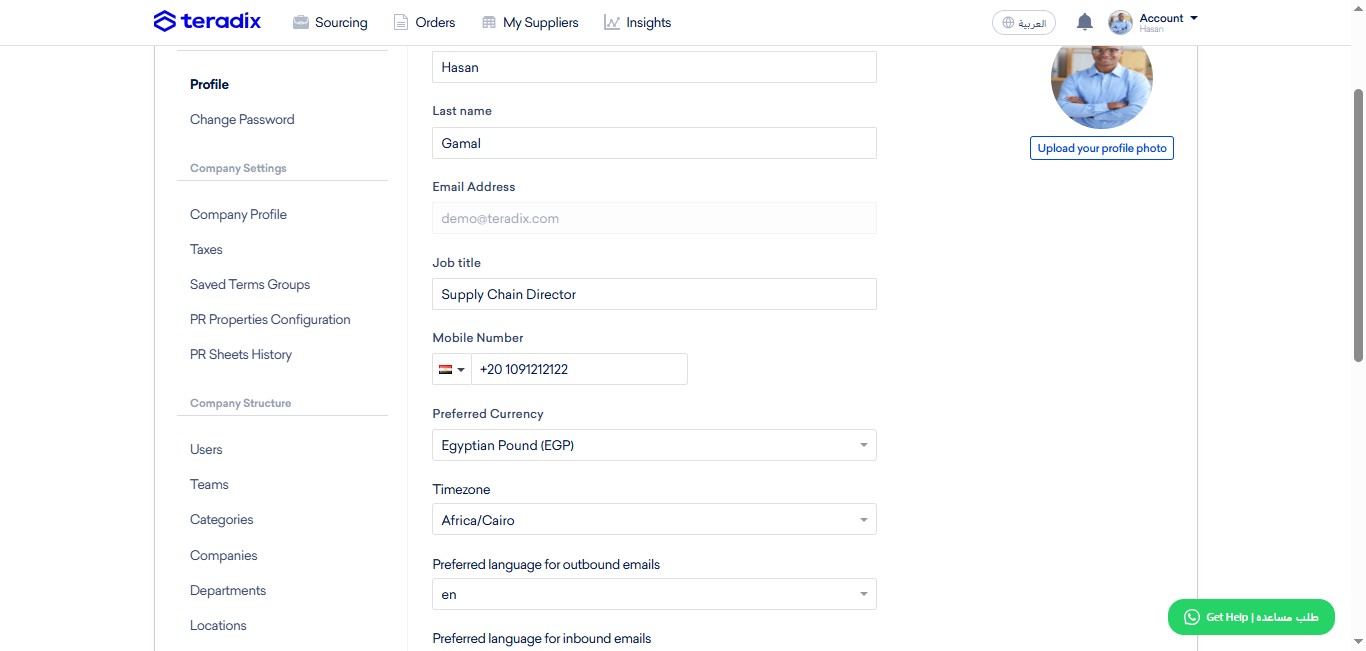
Selecting the account currency is very important; once you publish an RFx, the currency you select will be defaulted enforcedly for your account.
- Select your preferred default currency.
- NOTE: once you publish an RFx, the currency you select will be defaulted enforcedly
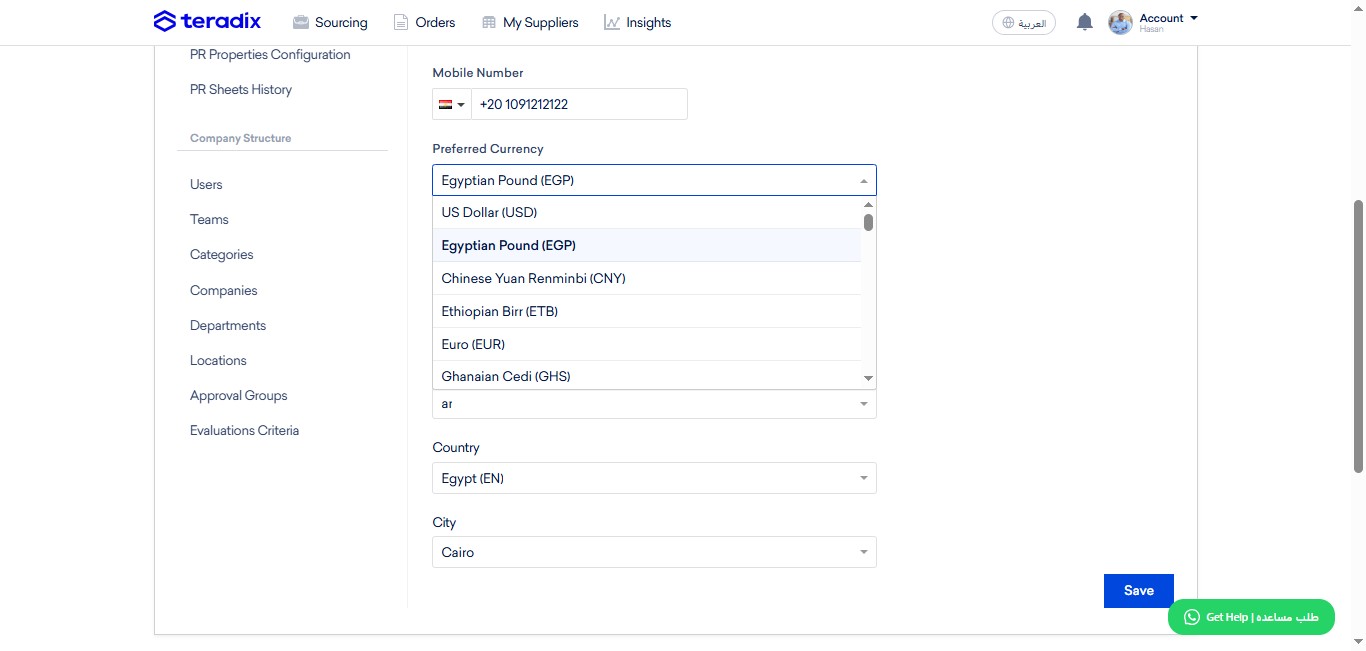
Select the language you prefer for your audience: Outbound emails are those email notifications sent automatically via Teradix, for you, to others, like when you publish an RFx to a number of Suppliers; those suppliers will be notified via Teradix that you sent them an RFx.
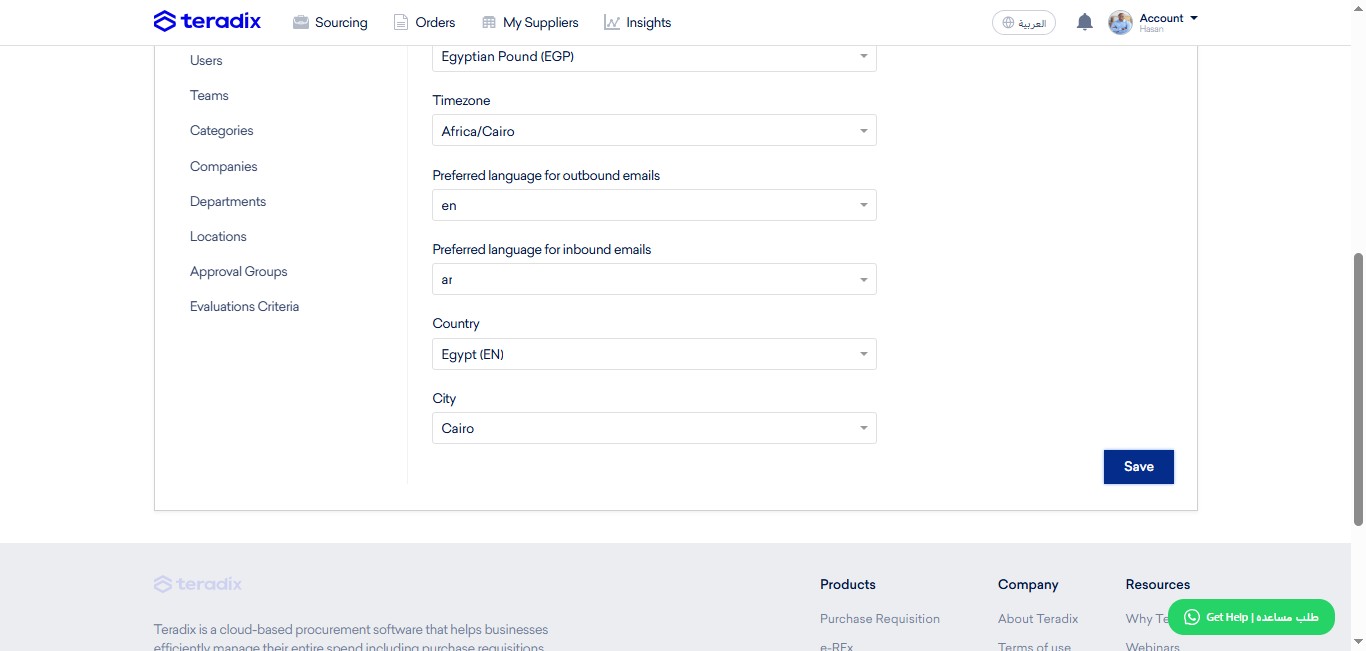
Select the language you prefer for inbound emails: Inbound emails are those email notifications sent automatically via Teradix, to you. Like when you PO approval request from a purchaser.
Click on "Save" so that your changes are saved.
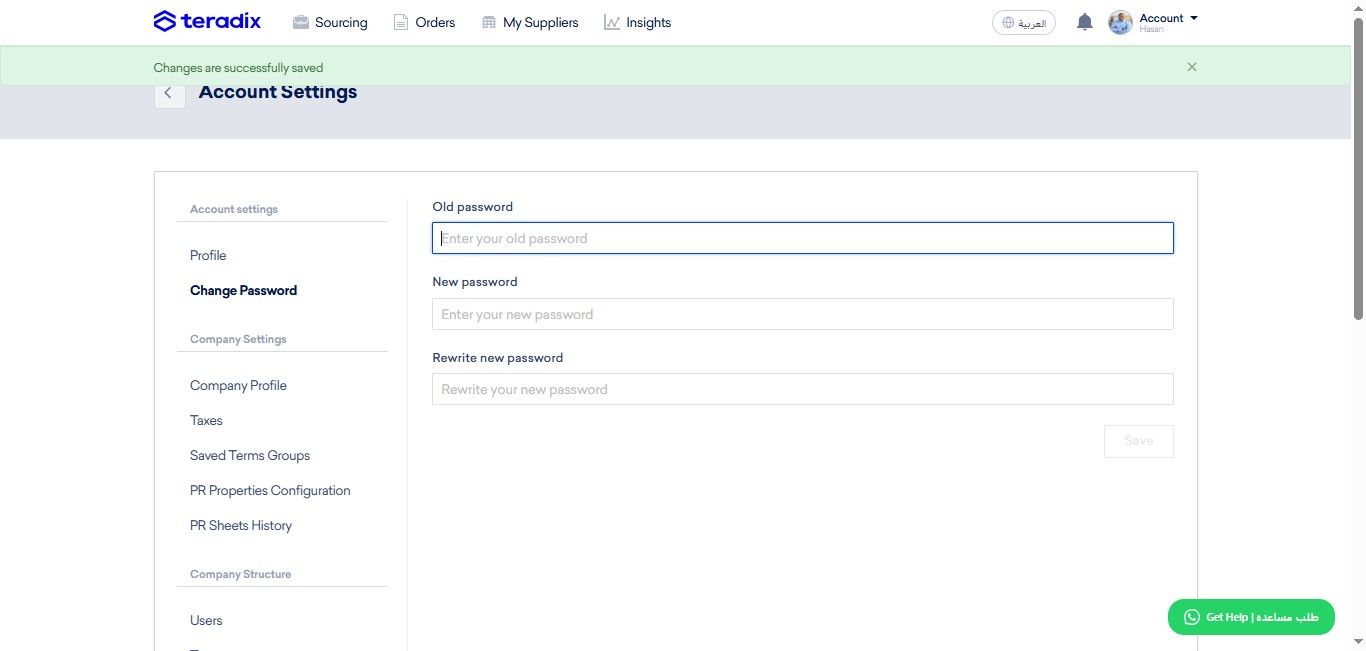
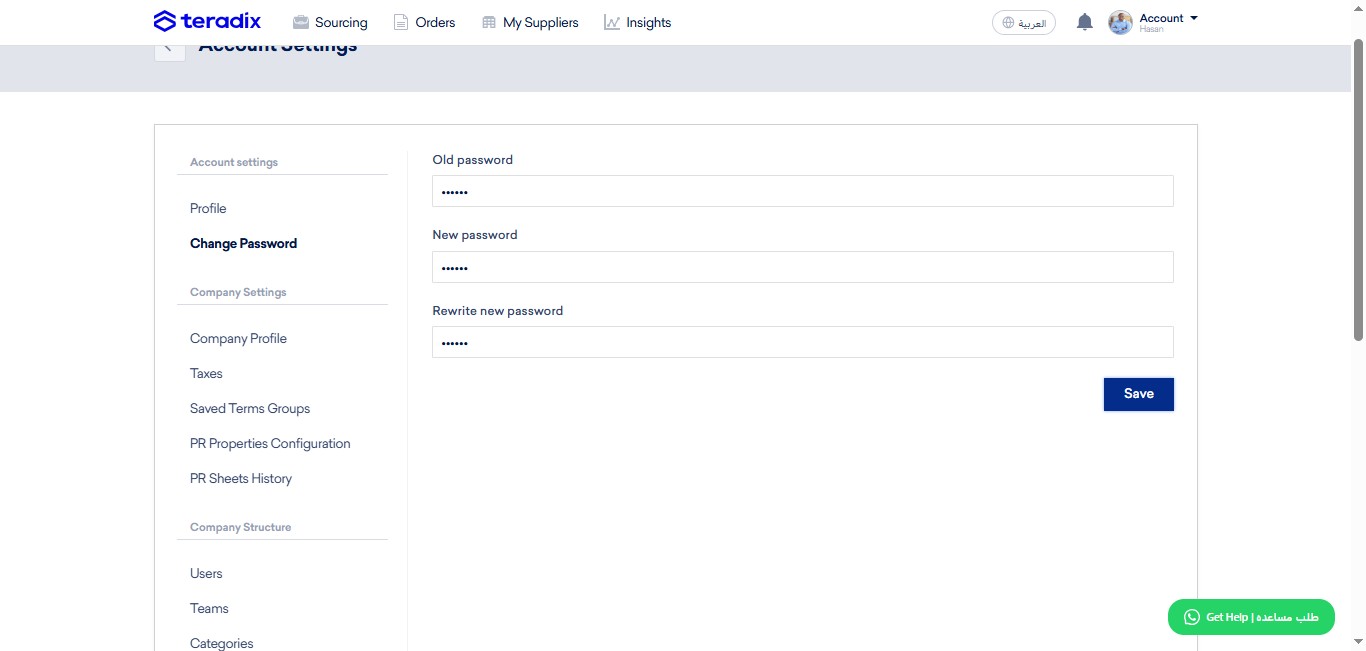
Click on "Change Password", to renew your current password. But; if you forgot password, navigate here (https://app.teradix.com/forget_password/password_recovery)
Click on "Save", to make sure changes are saved.
Click on "Prevent sending PO to supplier"; Recommended if there's a strict policy to abide by in using ERP's PO Module.
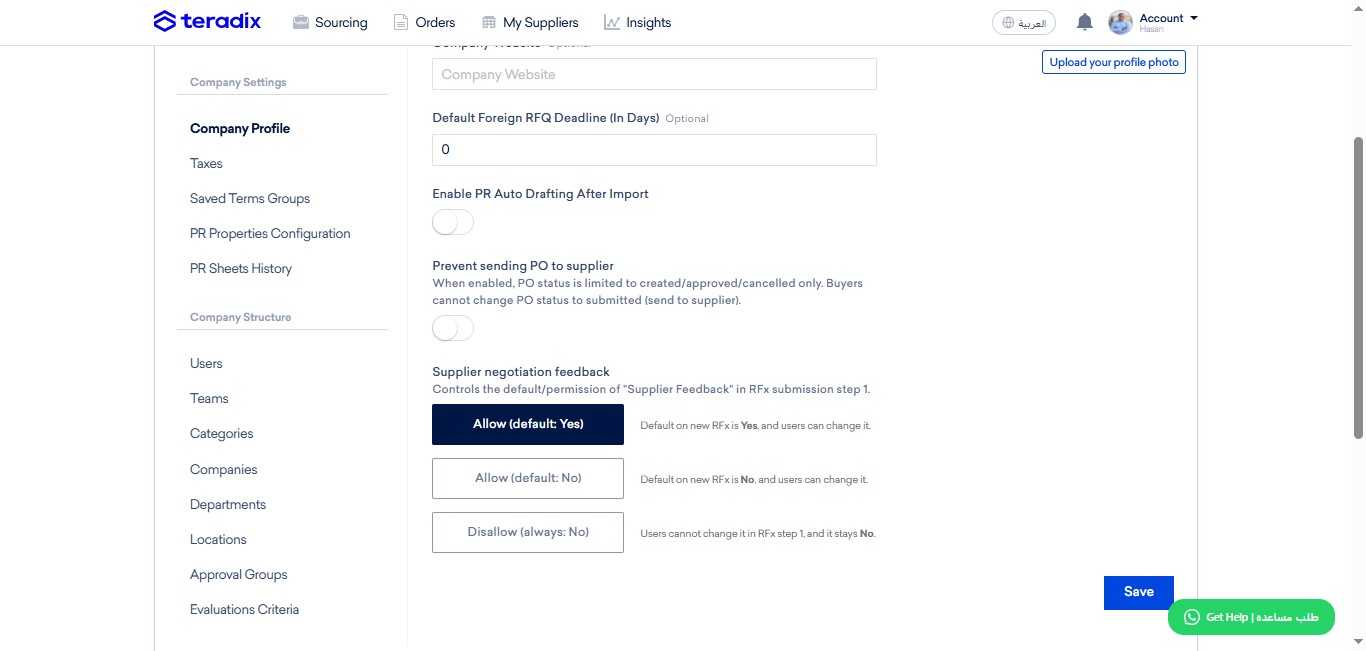
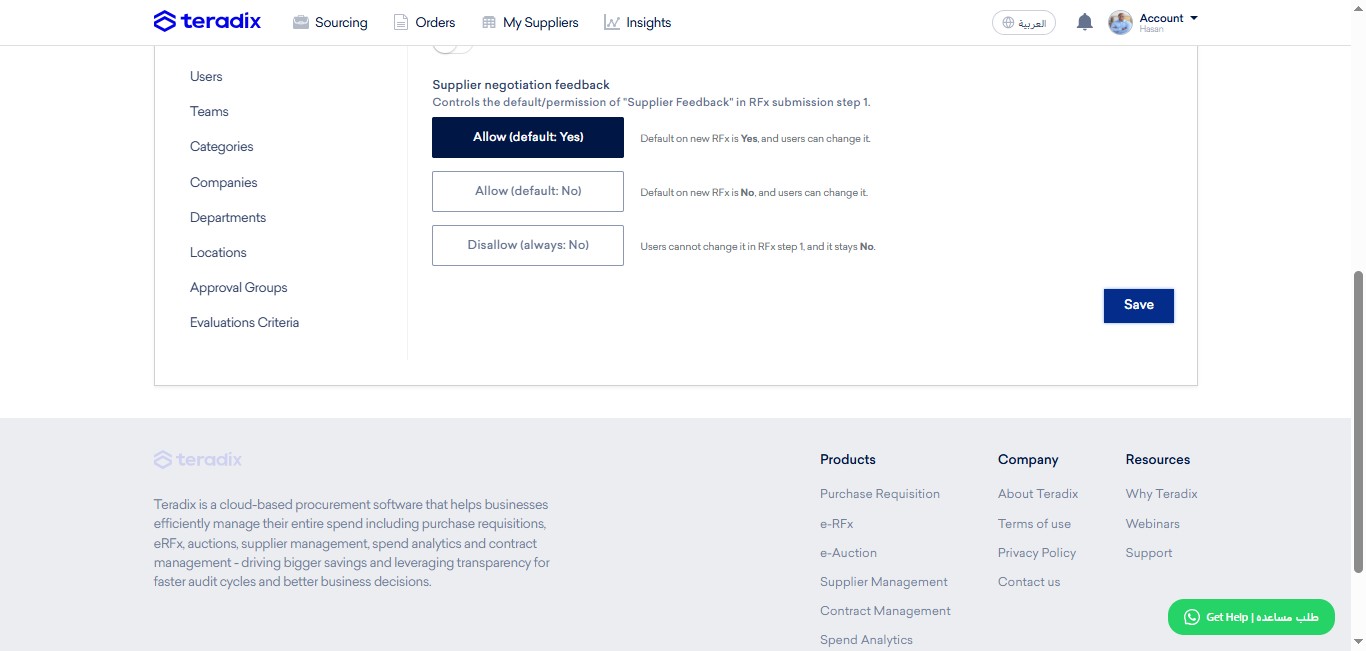
Supplier Negotiation Feedback: a feature enables your supplier to see whether competitive their price (total and item-level) or not. Supplier Negotiation Feedback Enabled by default.
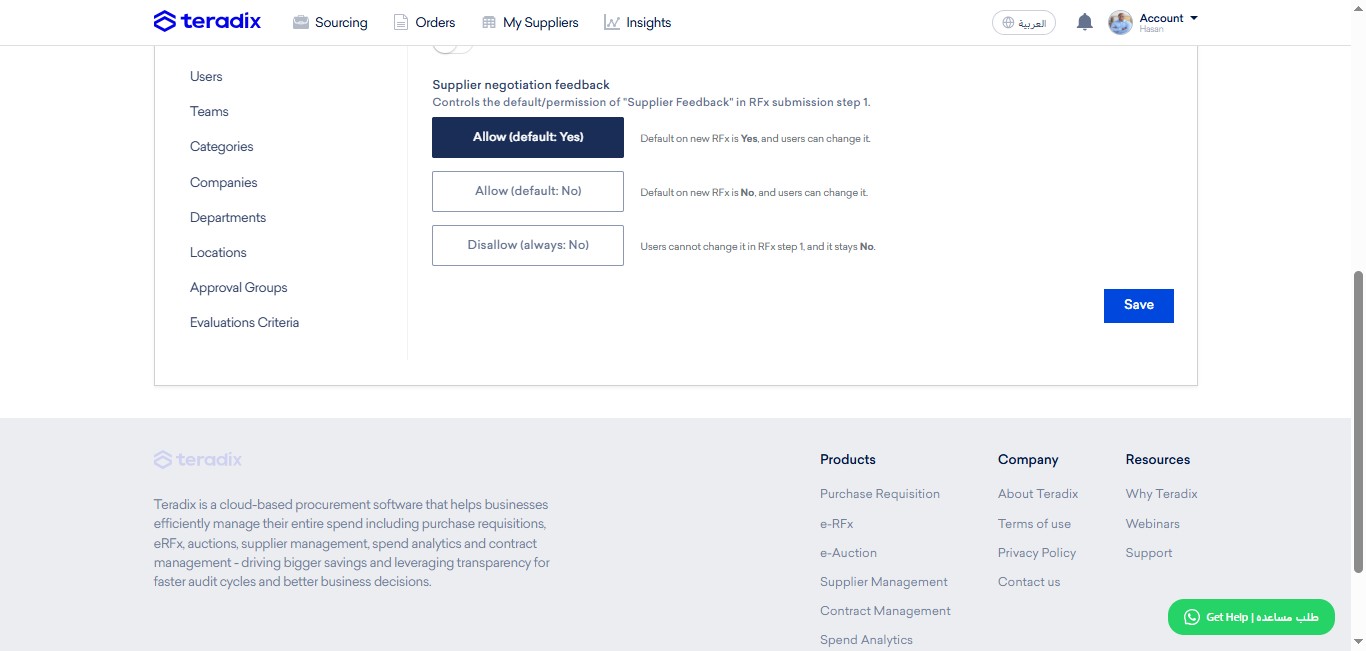
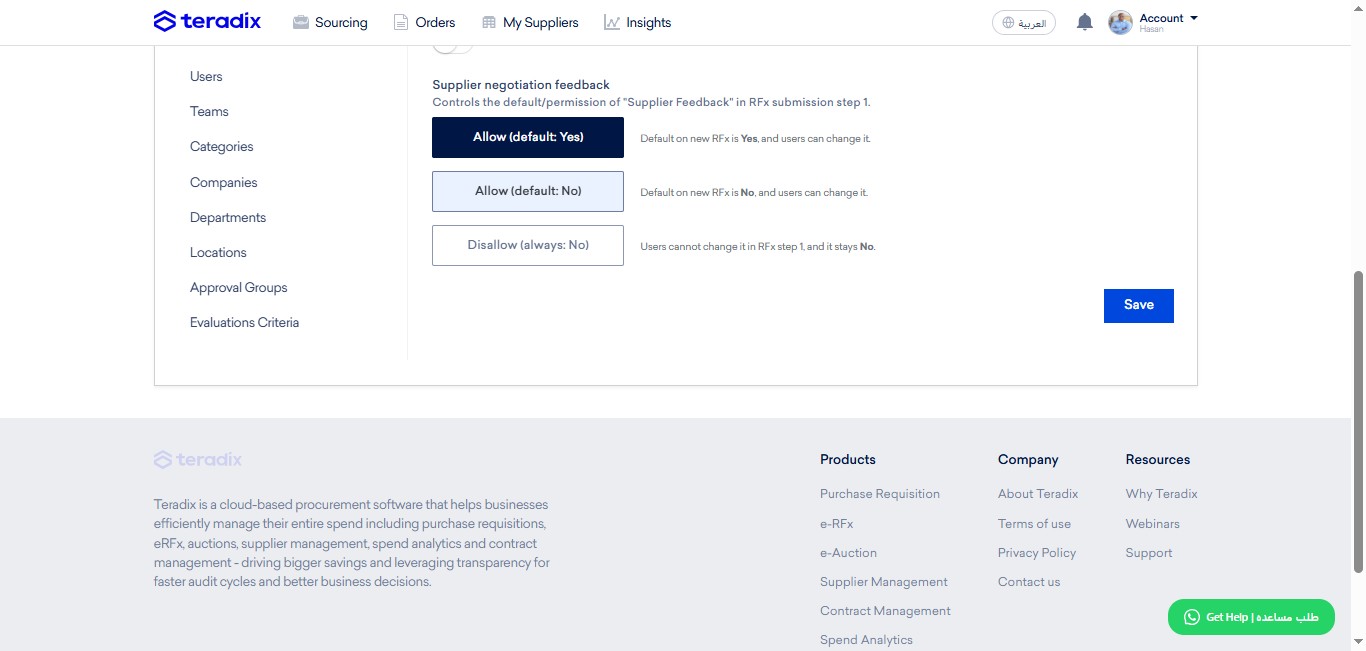
If you (owner-only), click on this option, it's disabled by default, but team still can enable.
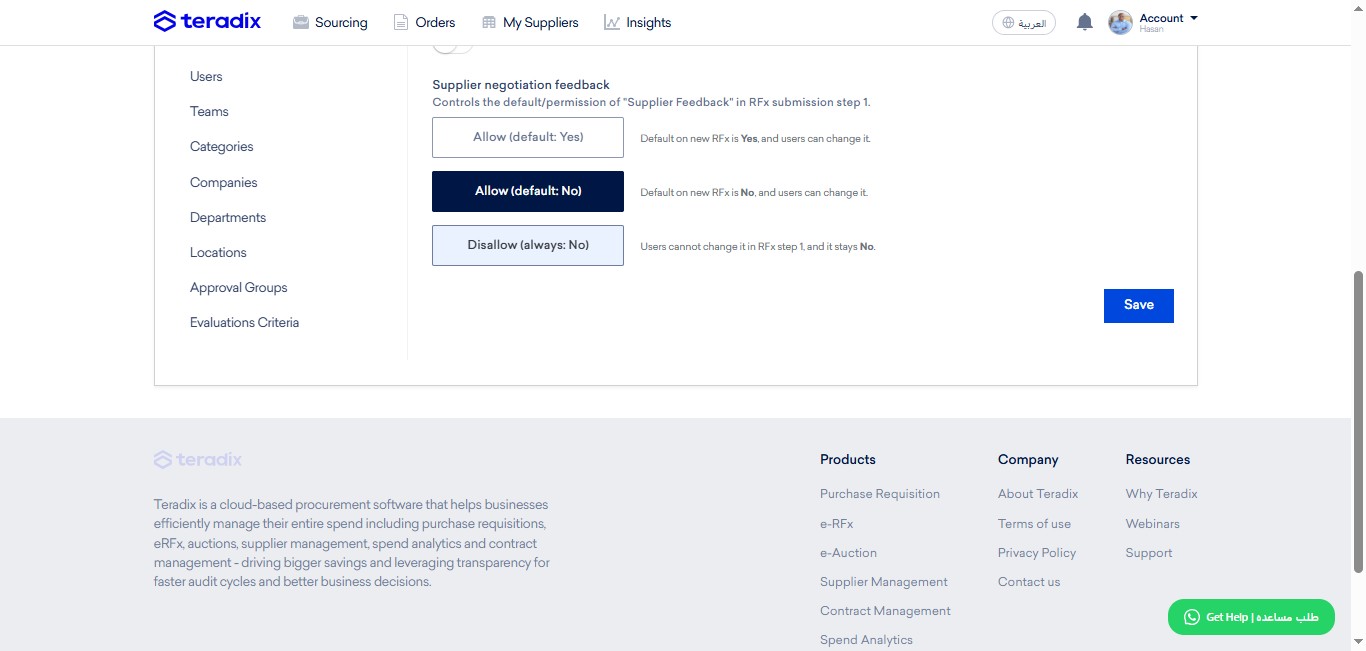
Click here to enforce all to unuse this feature.
Click here to save changes.
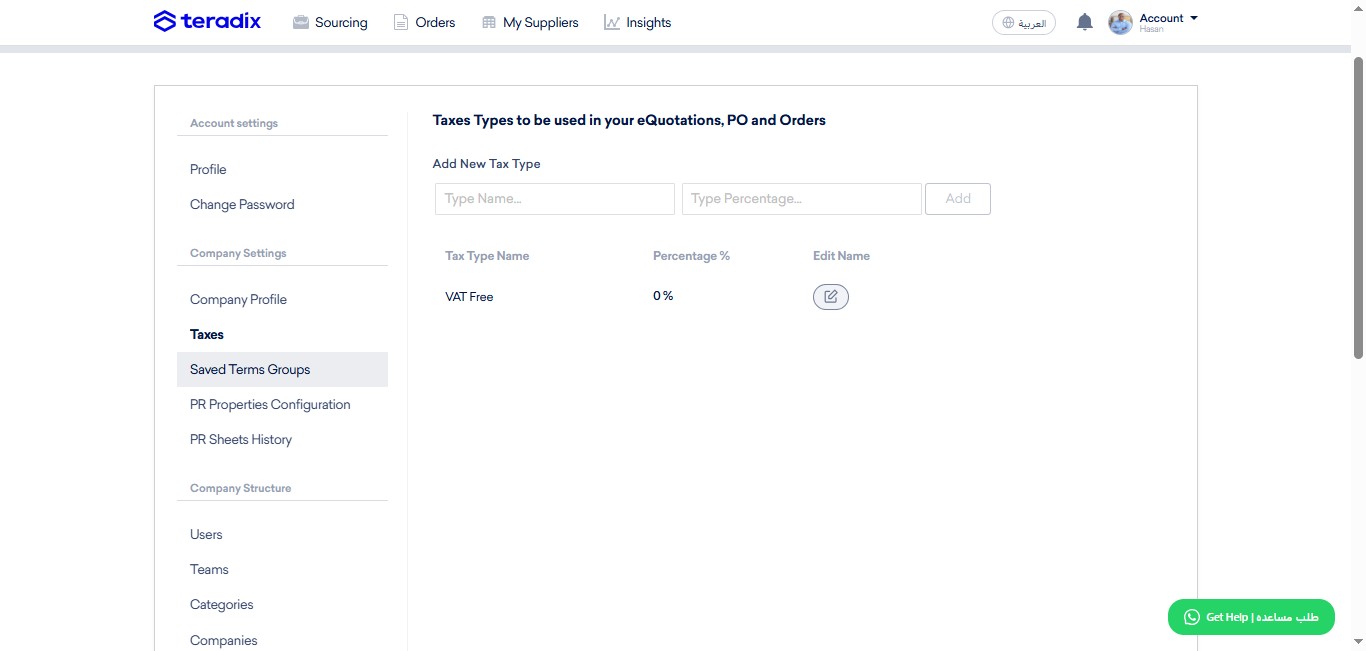
Click on "Saved Terms Groups"
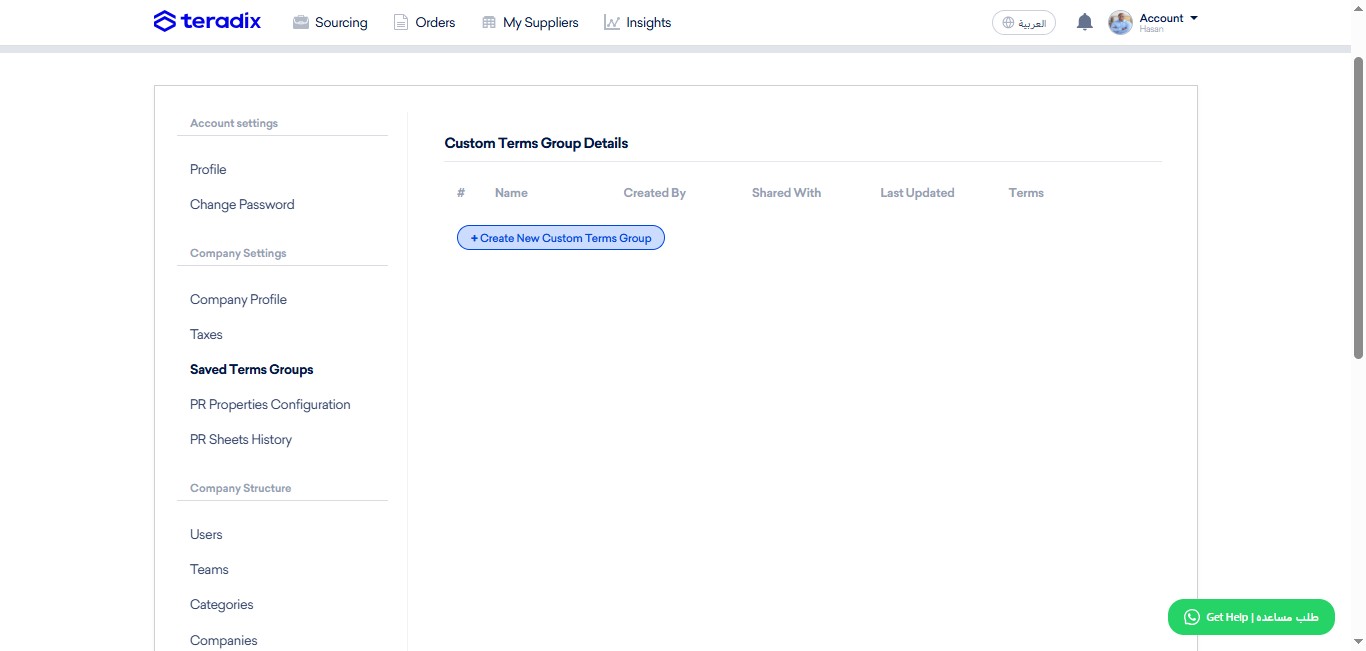
Click on "Create New Custom Terms Group". You can template a frequently used list of terms or conditions to add, with a click, to your RFx, instead of copy-pasting.
Add a name to you template.
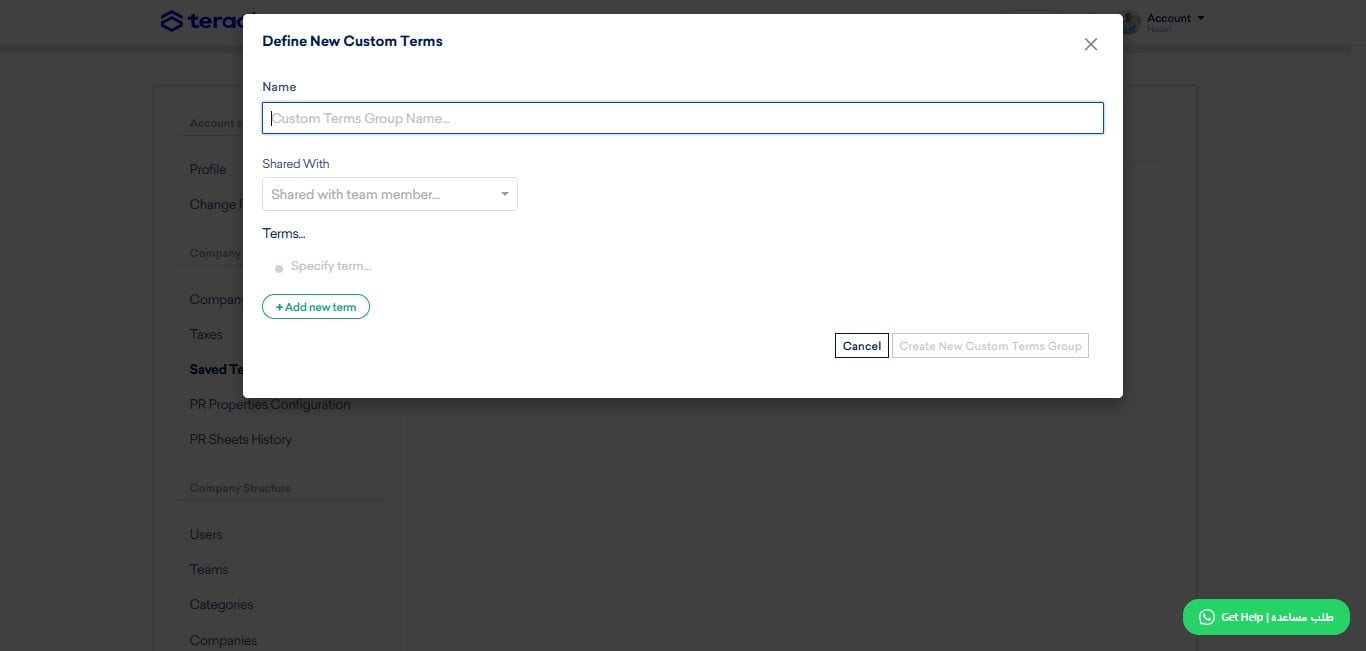
Click here to share with company member(s).
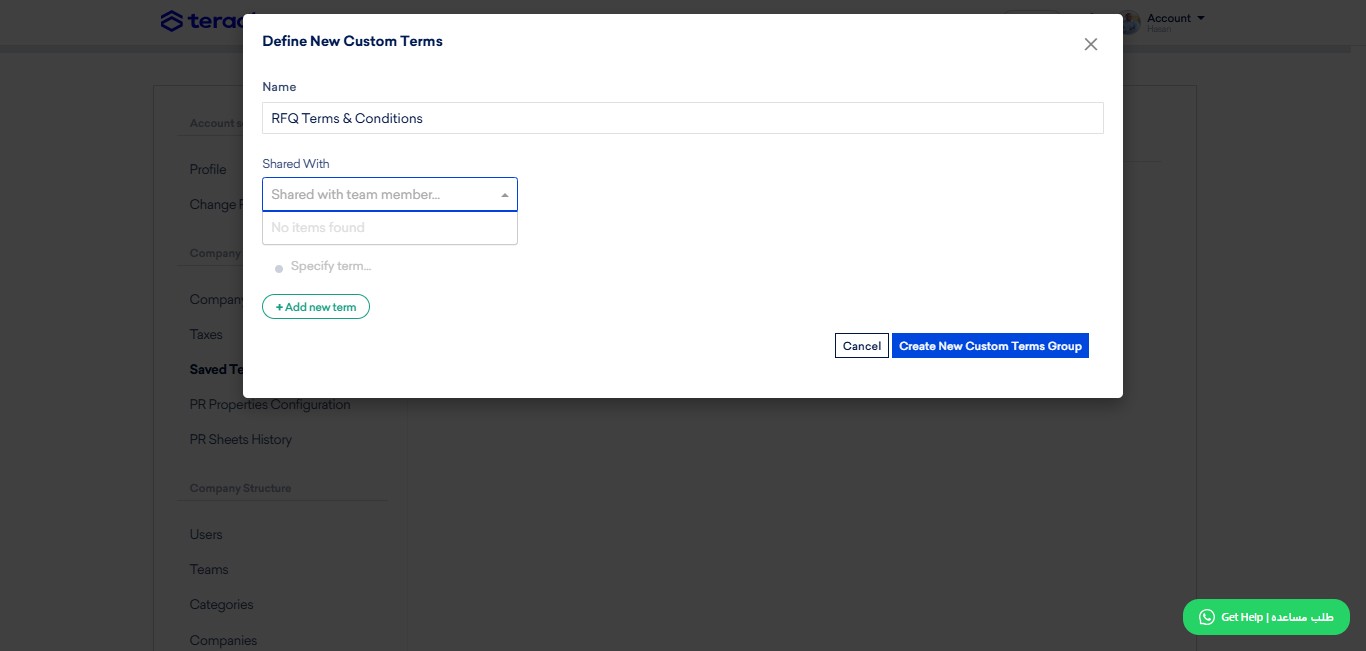
Write your Terms line by line.
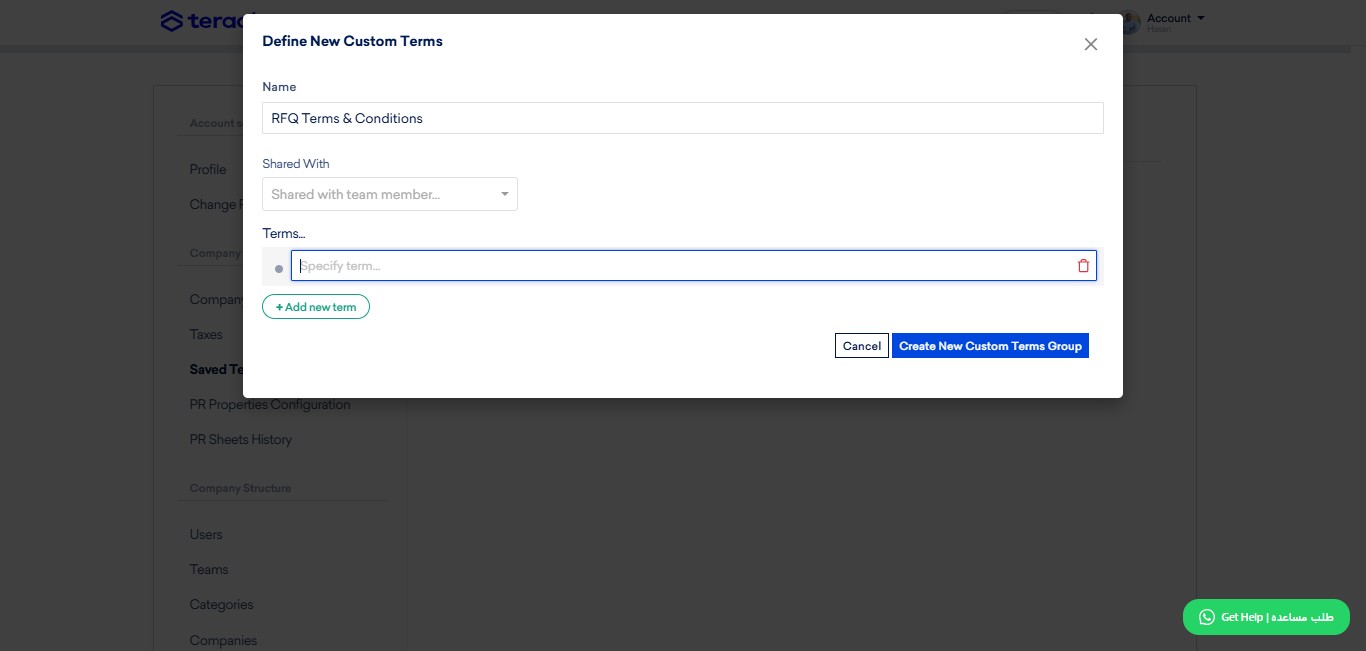
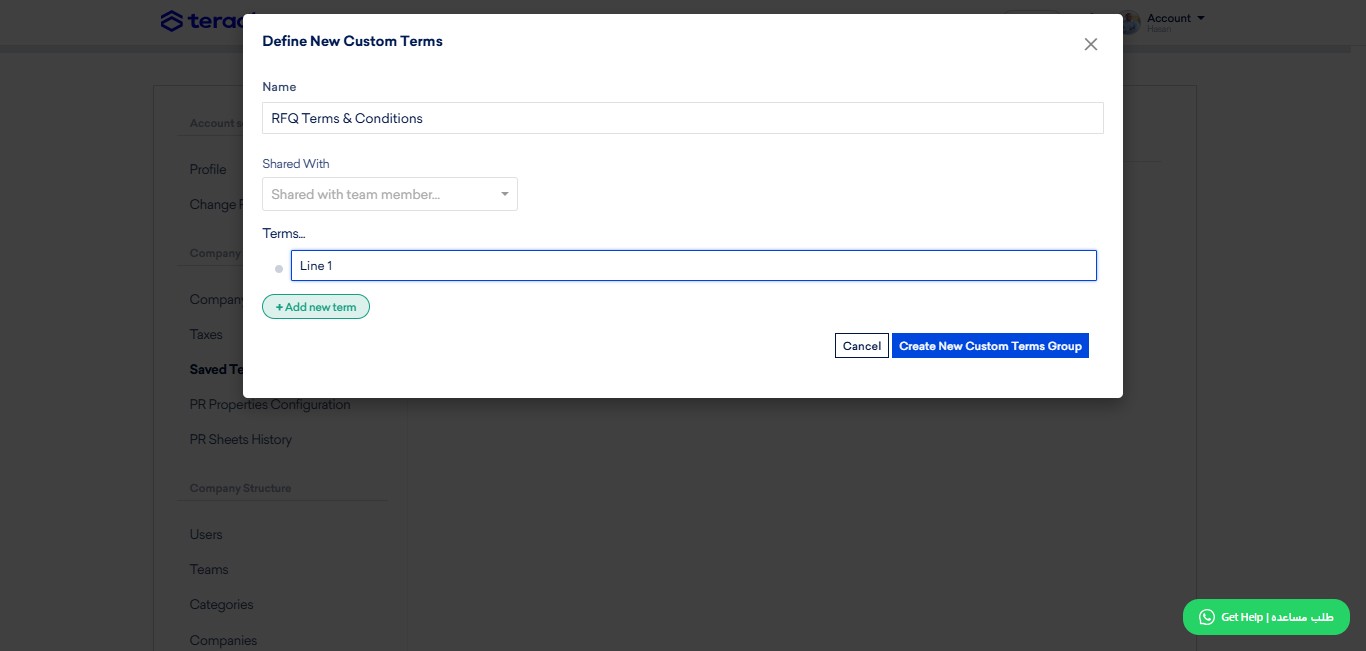
Click on "Add new term", to add a new line.
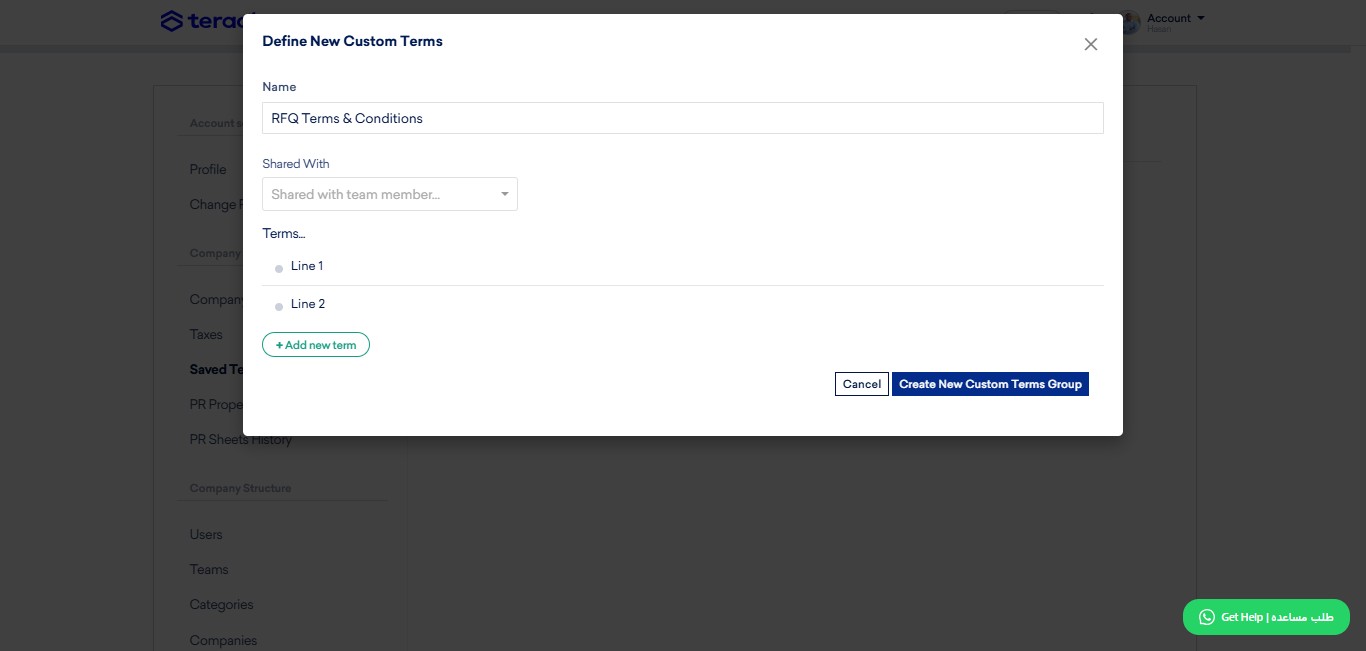
Click on "Create New Custom Terms Group", to save.
Click on "PR Properties Configuration"
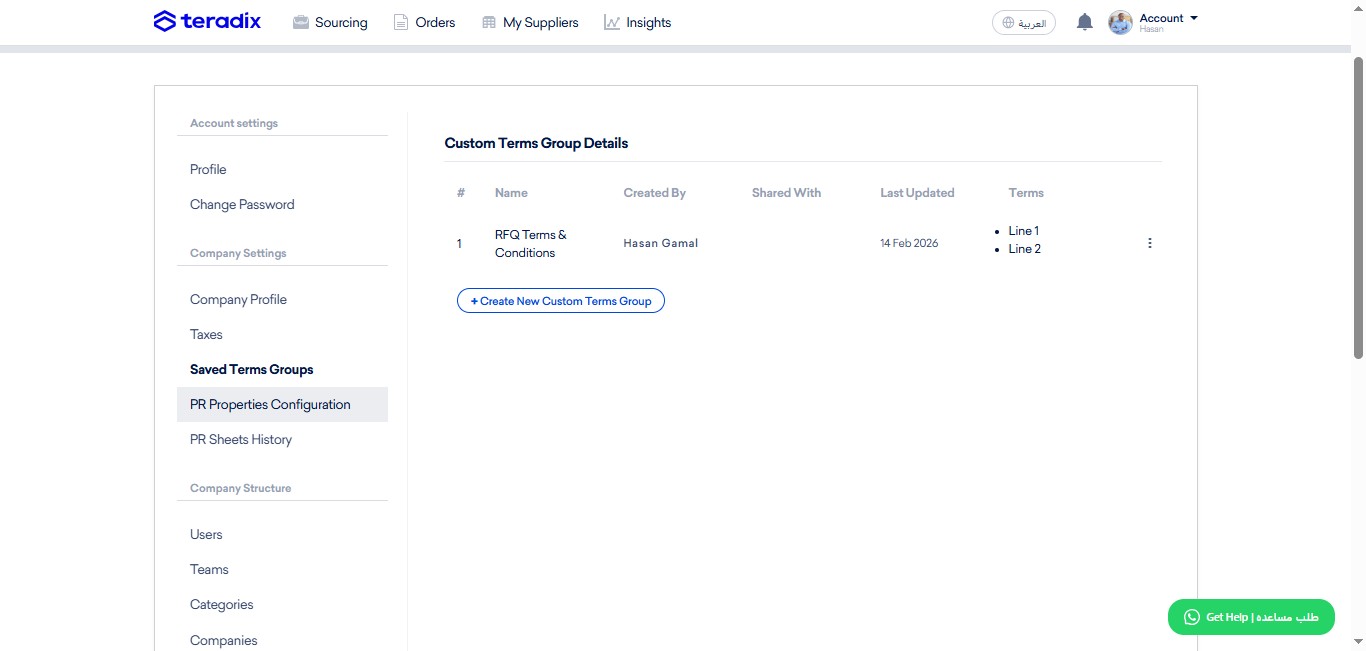
Only if you bulk-import Purchase Requests; "PR Properties Configurations"; where you can auto-map Teradix headers to your columns' headers in your ERP-exported excel sheet to easily import with one-click.
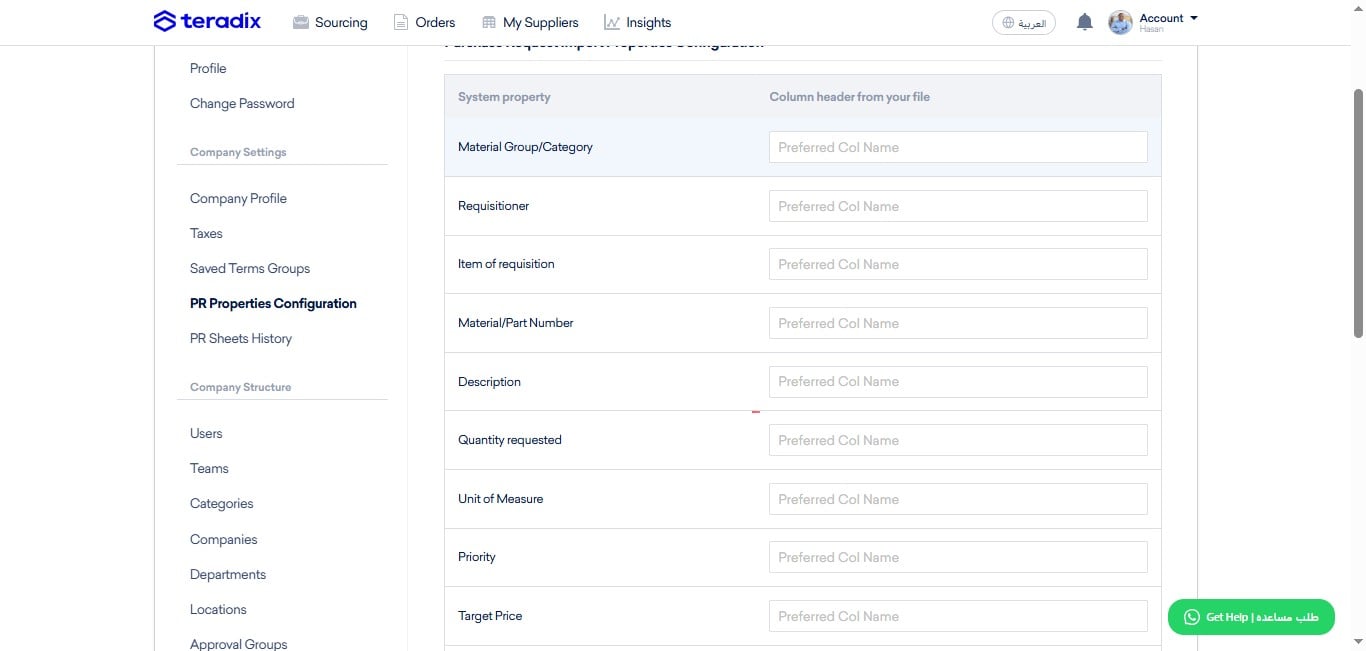
Click here to write the header title of the categories as per your ERP-exported excel file. For error-free importing, Categories on ERP and Teradix must be identical.
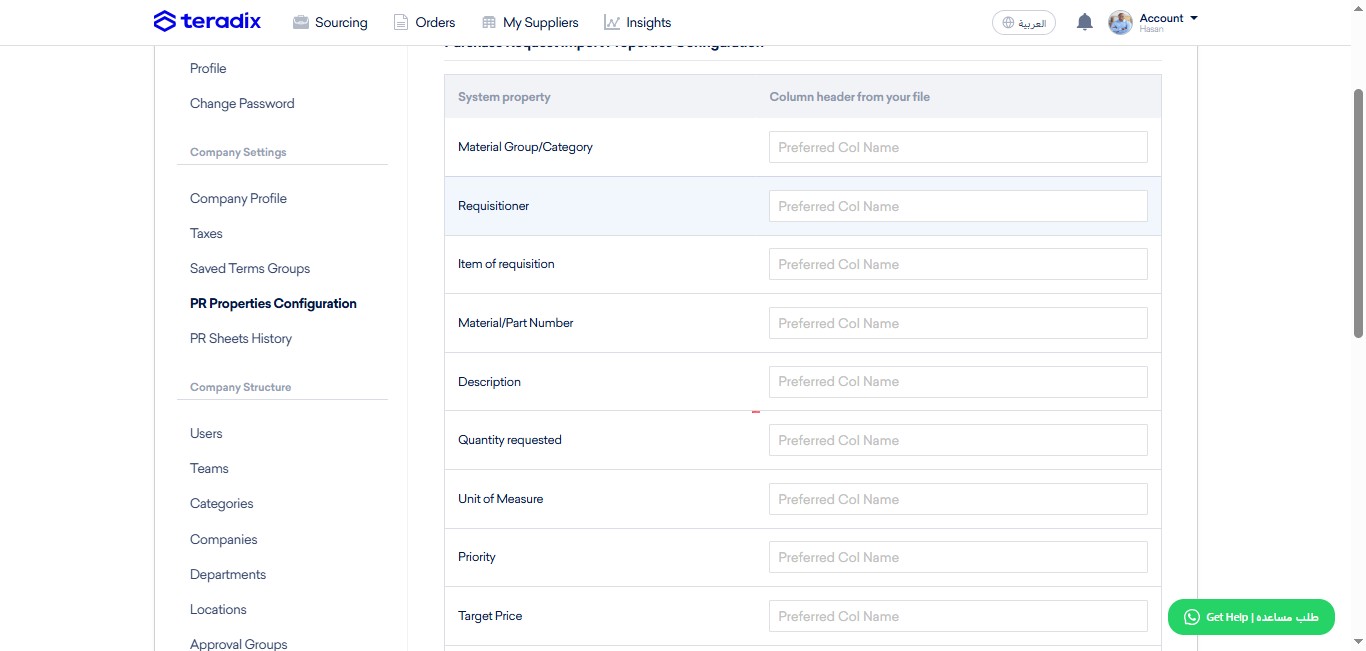
Click here to write the header title of the Requester Name as per your ERP-exported excel file. For error-free importing, Requester Names' on ERP and Teradix must be identical.
Click here to write the header title of the Line Number (per PR) as per your ERP-exported excel file.
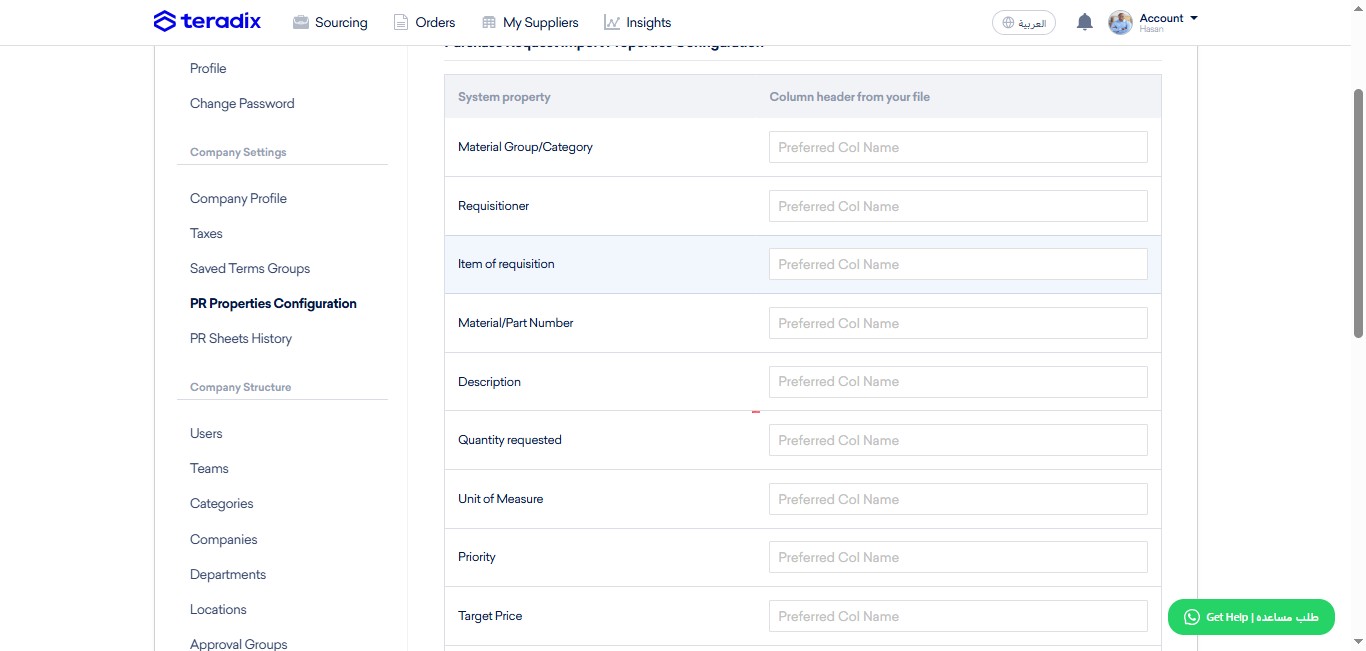
Click here to write the header title of the Part Number as per your ERP-exported excel file.
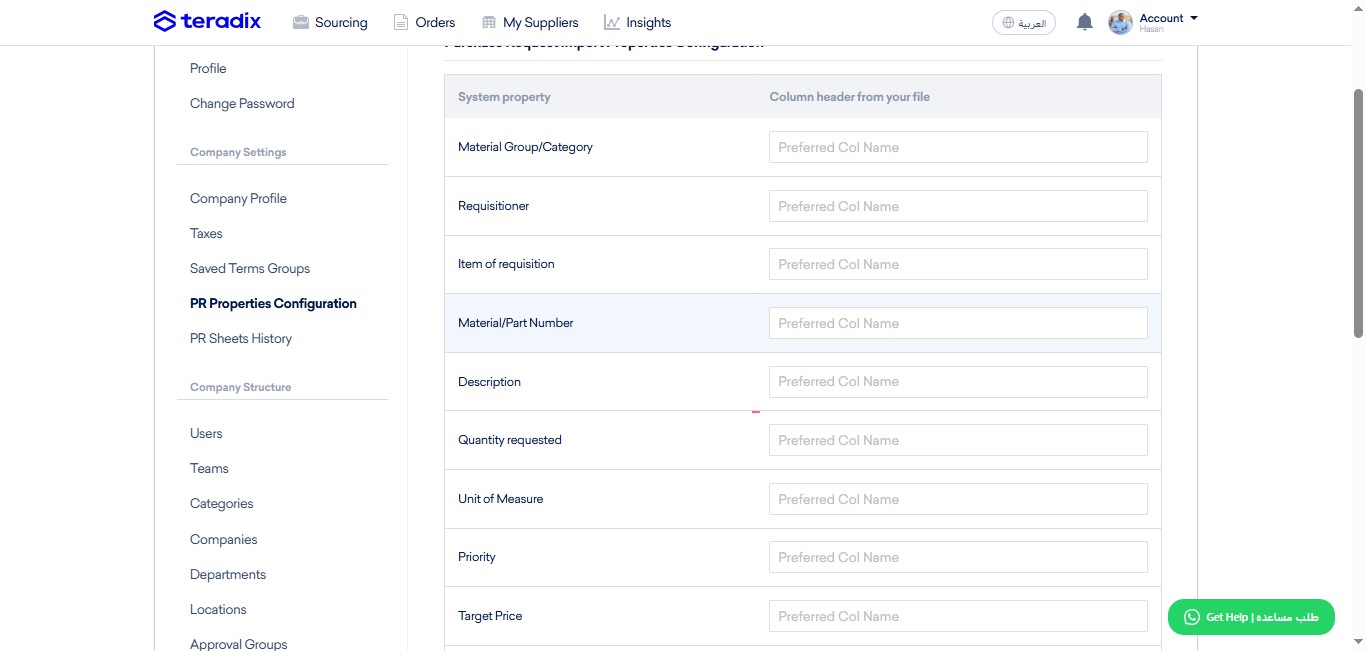
Click here to write the header title of the Item Description as per your ERP-exported excel file.
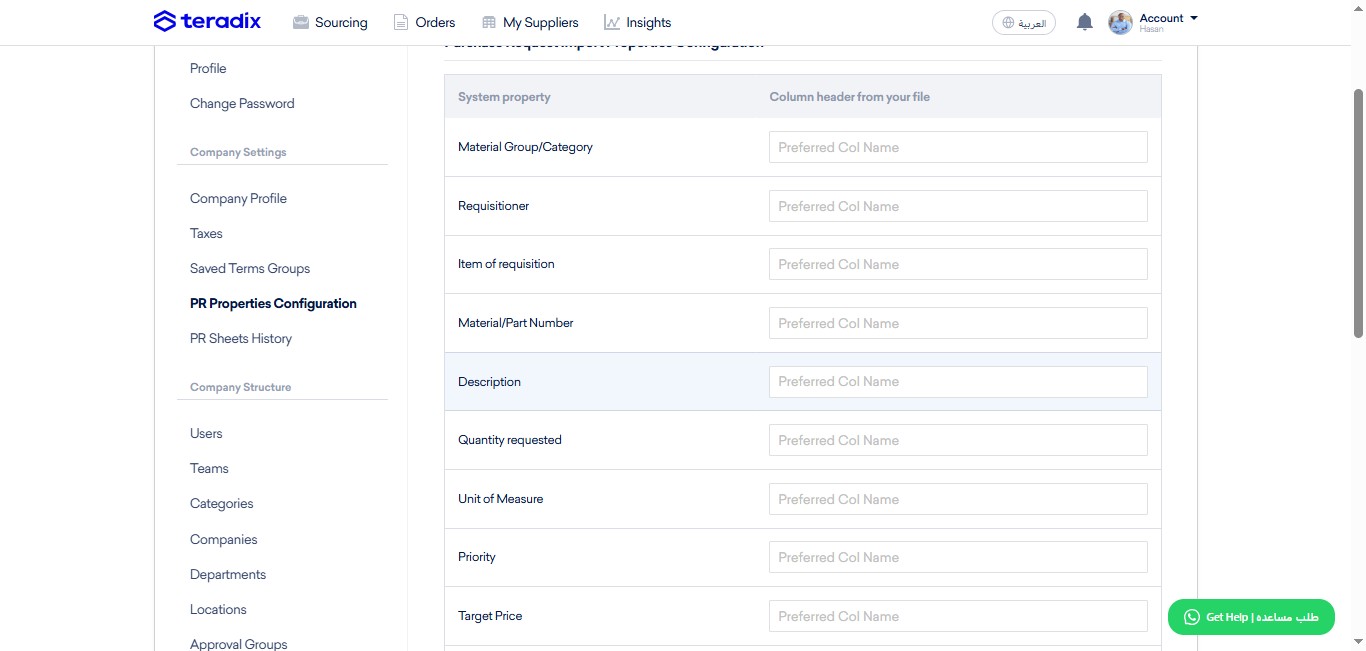
Click here to write the header title of the Quantity as per your ERP-exported excel file.
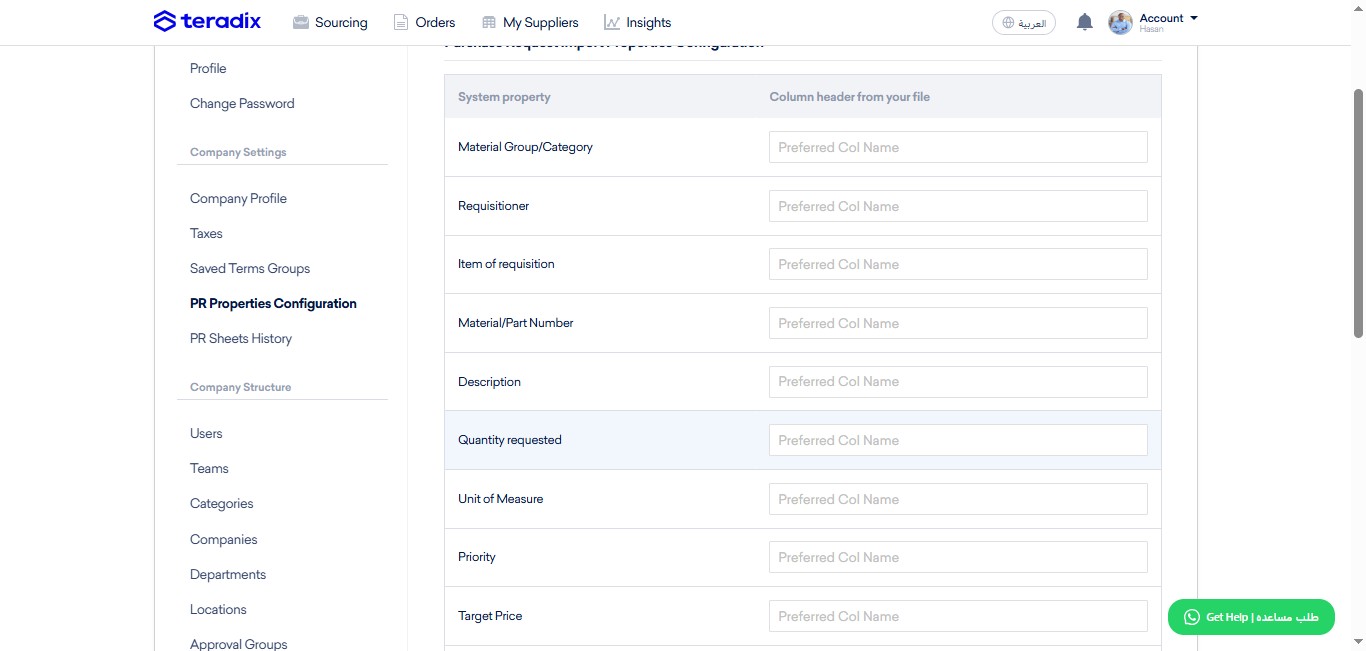
Click here to write the header title of the Unit of Measurement as per your ERP-exported excel file.
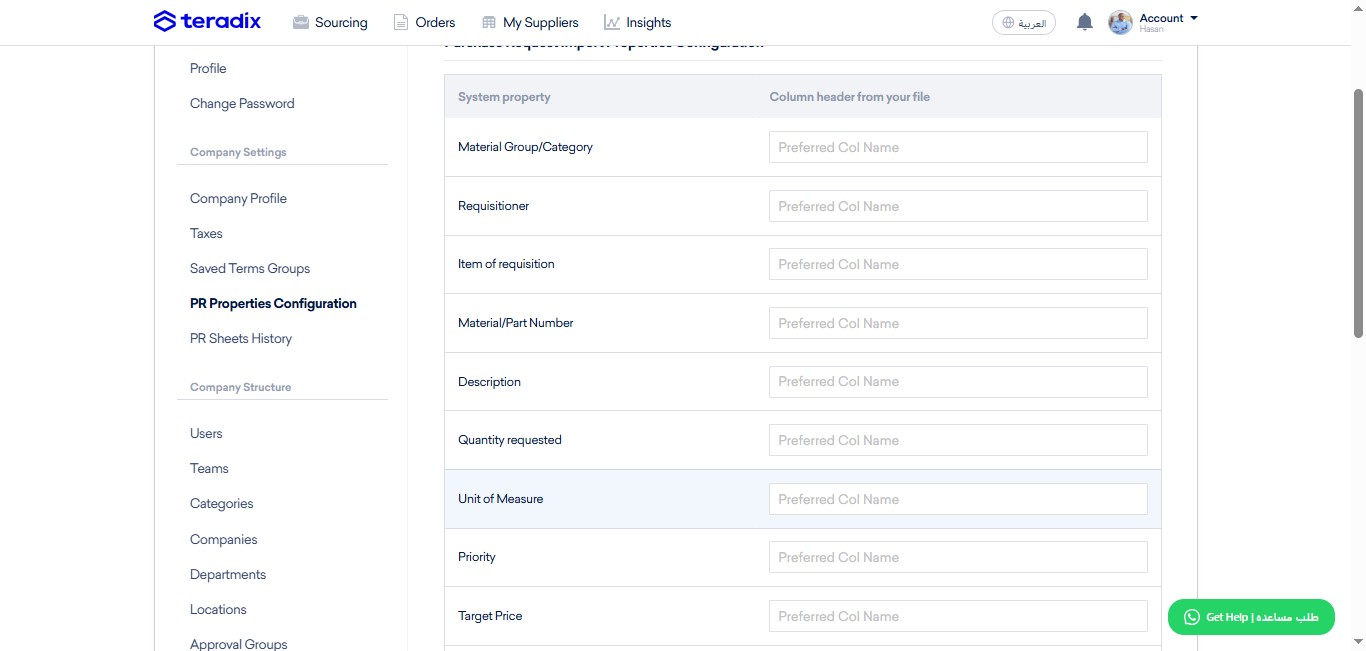
Click here to write the header title of the Target Price as per your ERP-exported excel file.
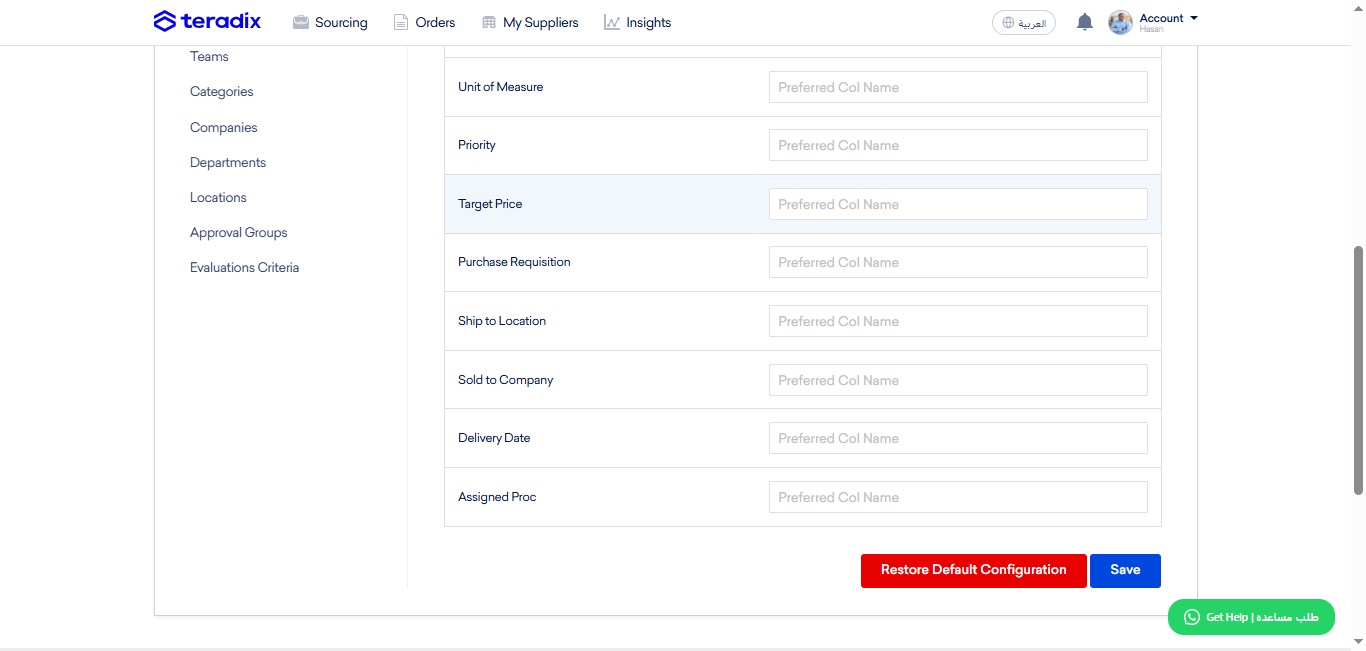
Click here to write the header title of the Purchase Requisition Number as per your ERP-exported excel file. NOTE; Teradix doesn't allow PR importing, if already imported beforehand.
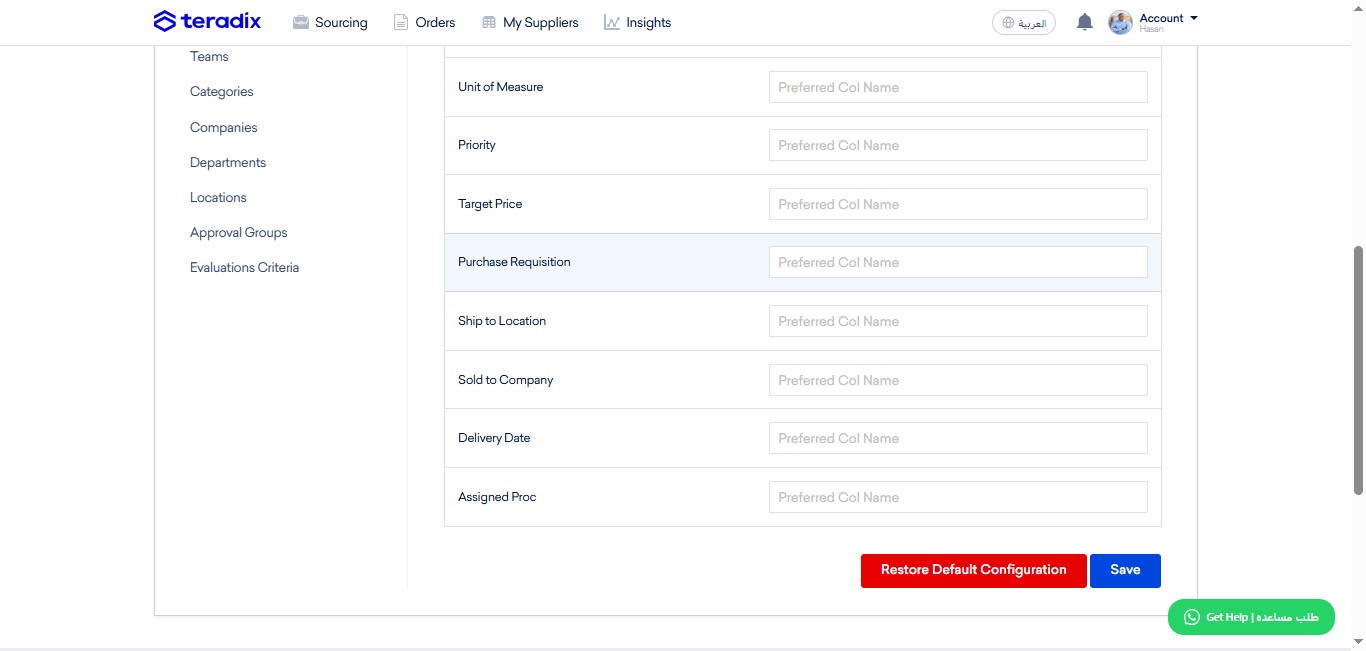
Click here to write the header title of the Location/Warehouse as per your ERP-exported excel file, to which goods will be shipped, or where services will be implemented. For error-free importing, Locations' Names' on ERP and Teradix must be identical.
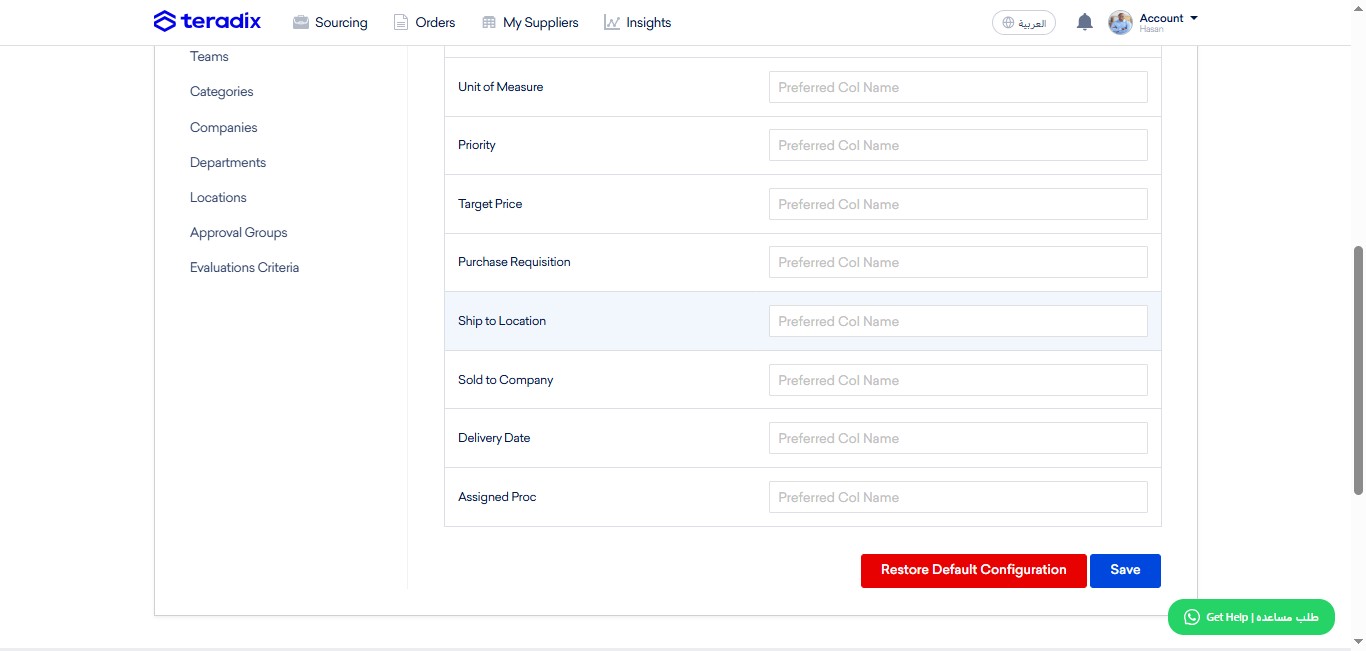
Click here to write the header title of the Buying Entity as per your ERP-exported excel file. For error-free importing, Companies' Names' on ERP and Teradix must be identical.
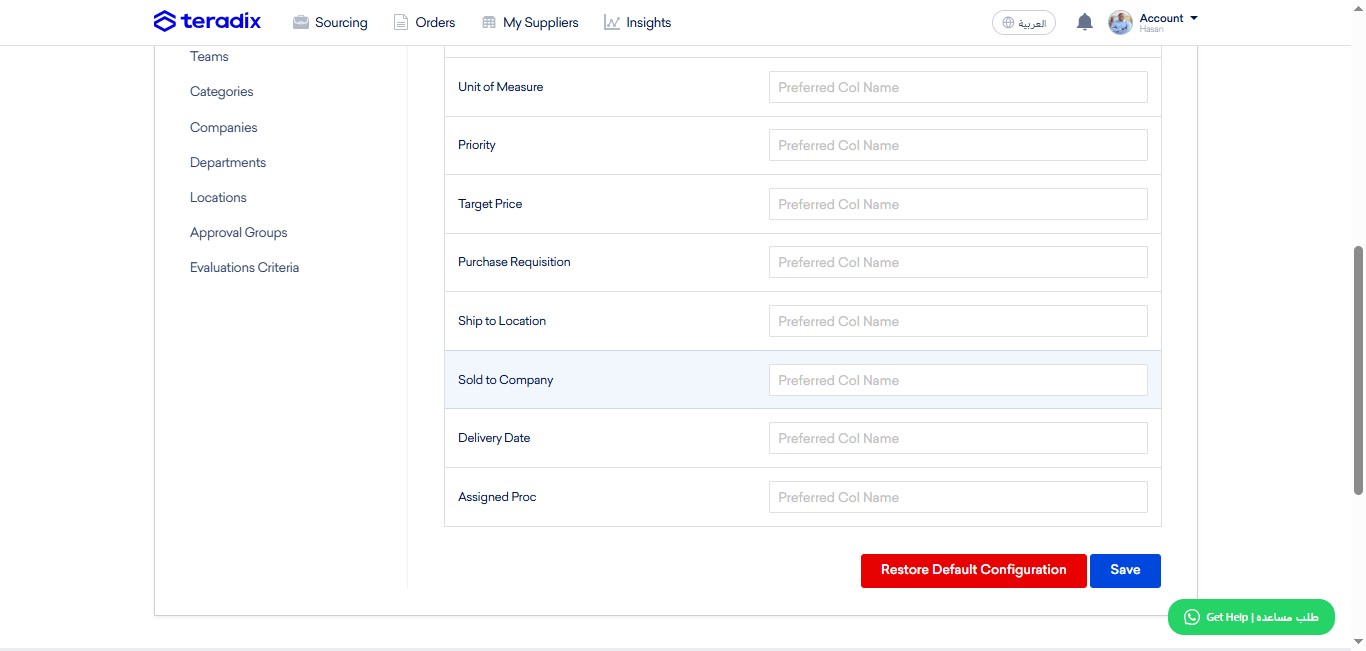
Click here to write the header title of the Buyer Name as per your ERP-exported excel file. For error-free importing, Procurement Users' Names' on ERP and Teradix must be identical.
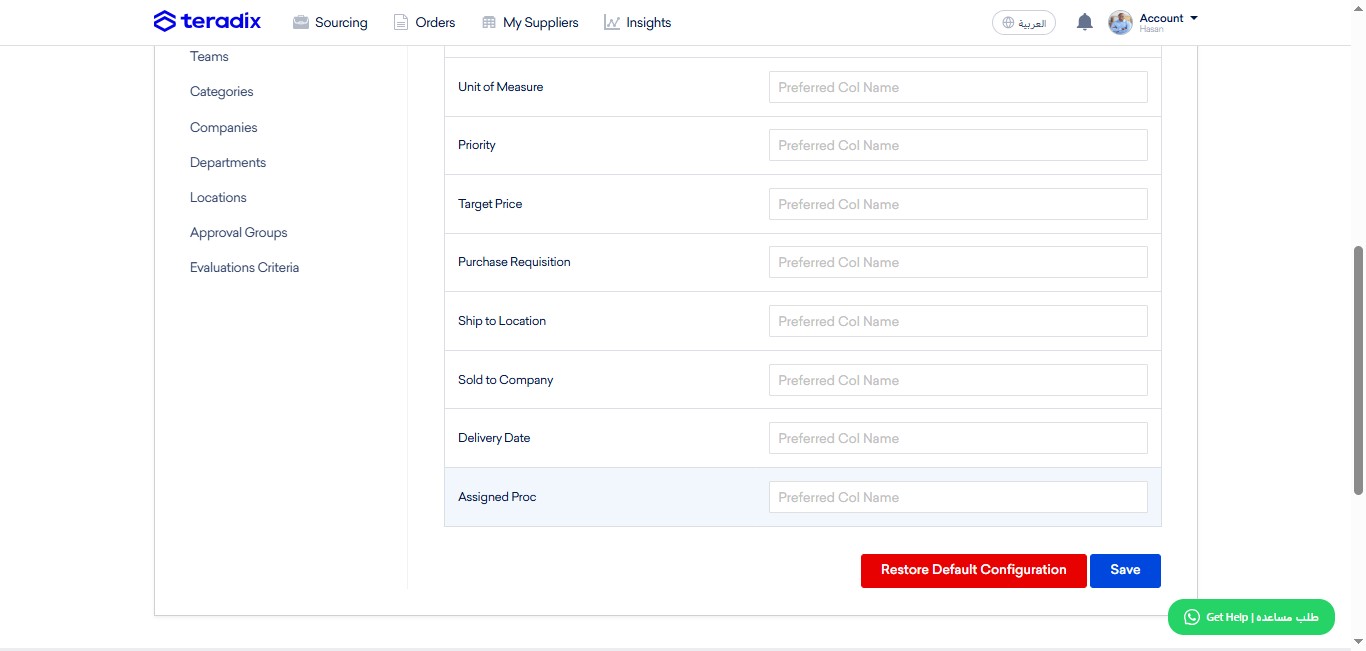
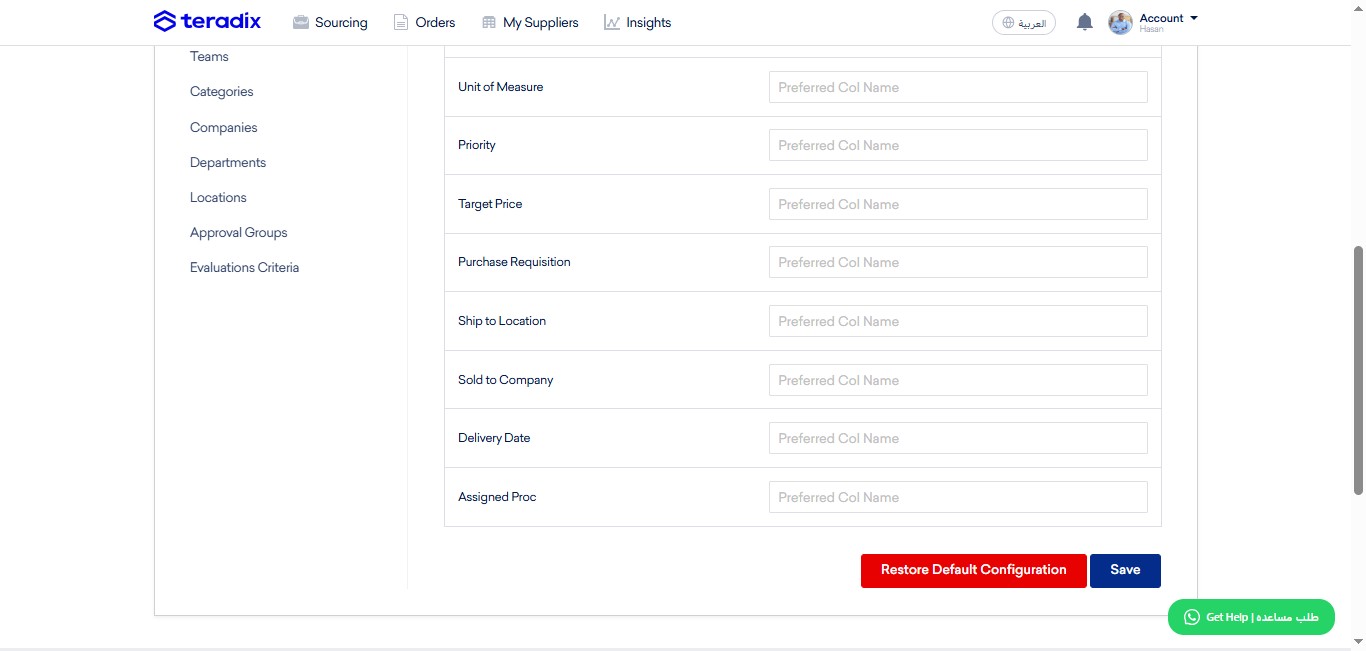
Click on "Save"
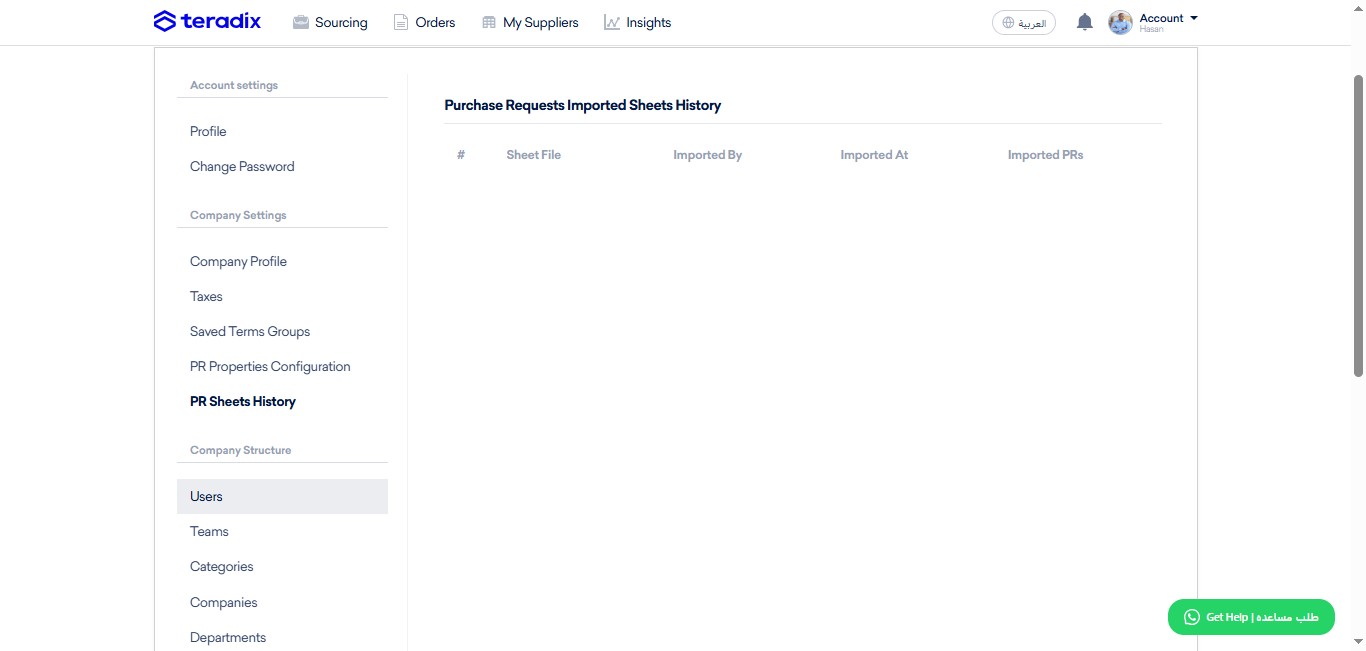
Click on "PR Sheets History"; where all your PR files imported are saved for reference.
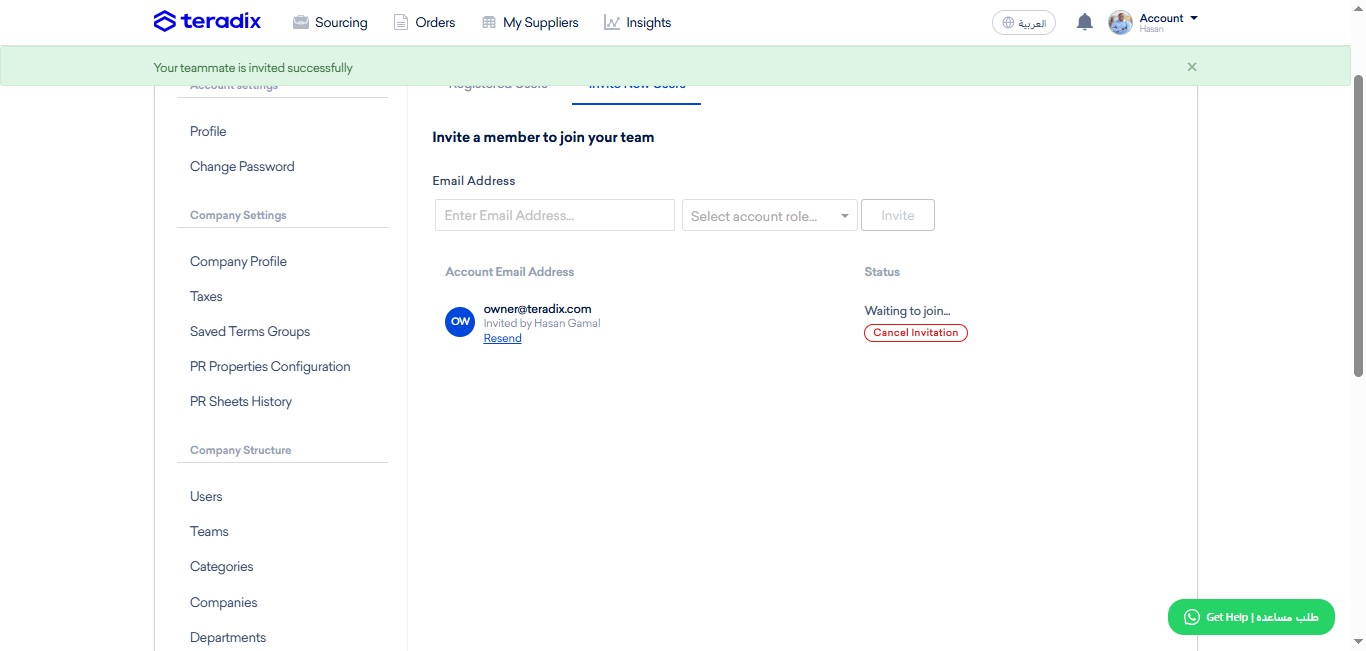
Click on "Users"
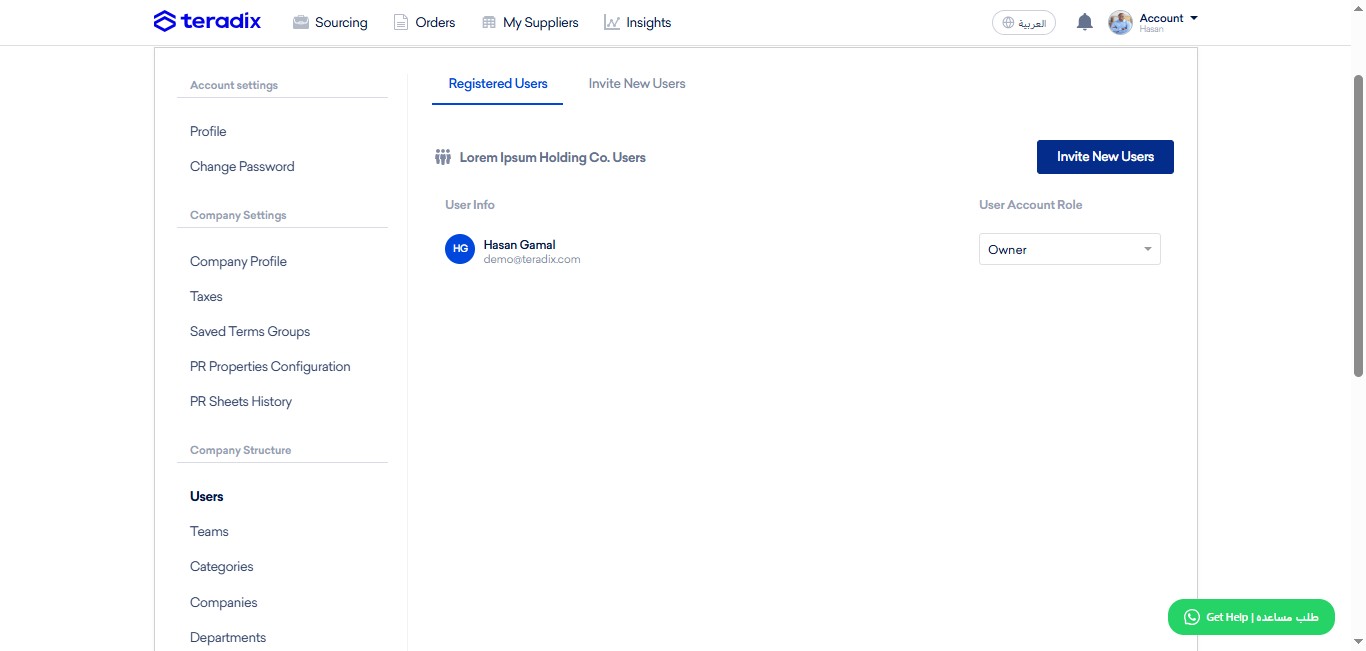
Click on "Invite New Users"; in order for inviting any new company members; requesters, procurement members, admins.
Click here to write the email address correctly.
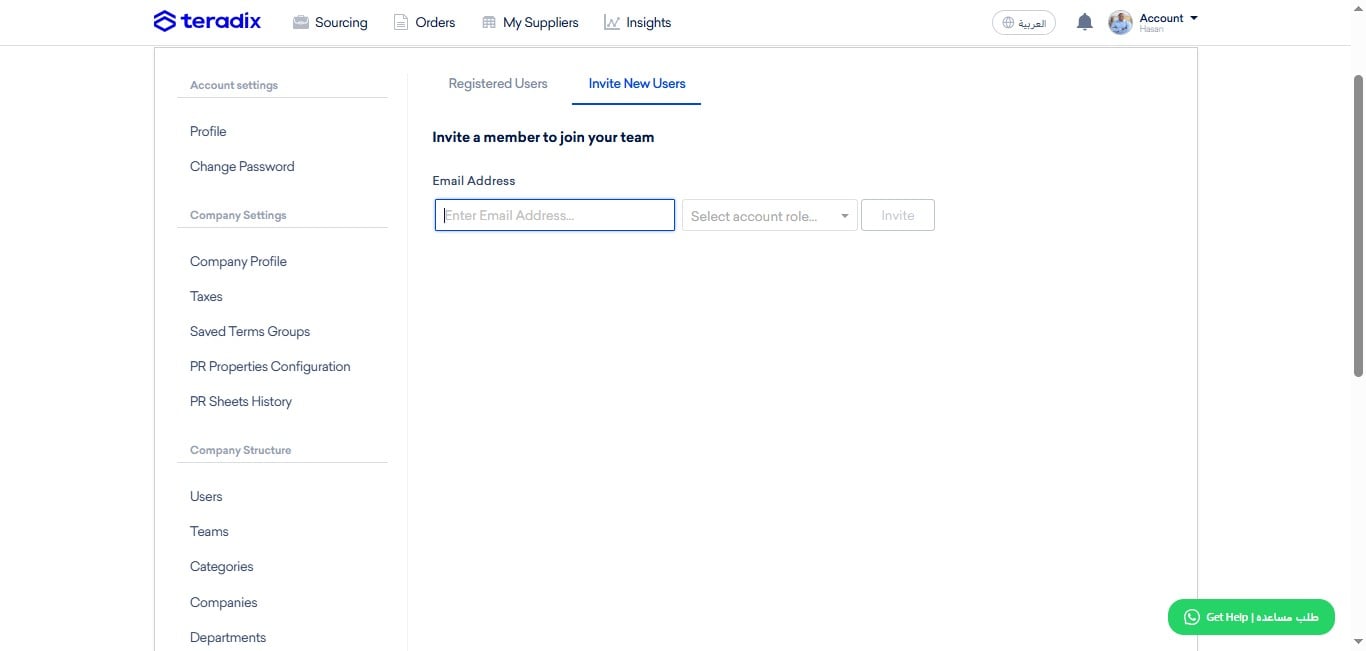
Click here to select role of the invitee.
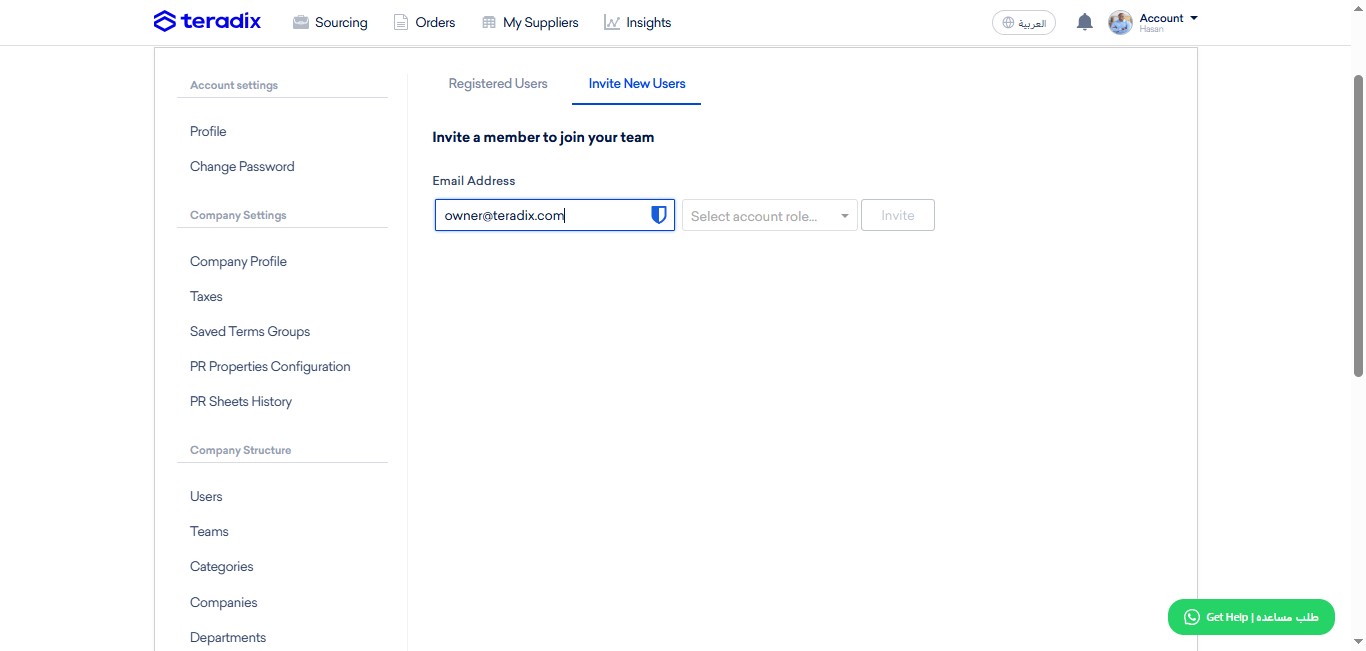
Admin Role; has a company-level visibility on procurement users' sourcing events & Insights. Admin can invite only Procurement, Requester roles.
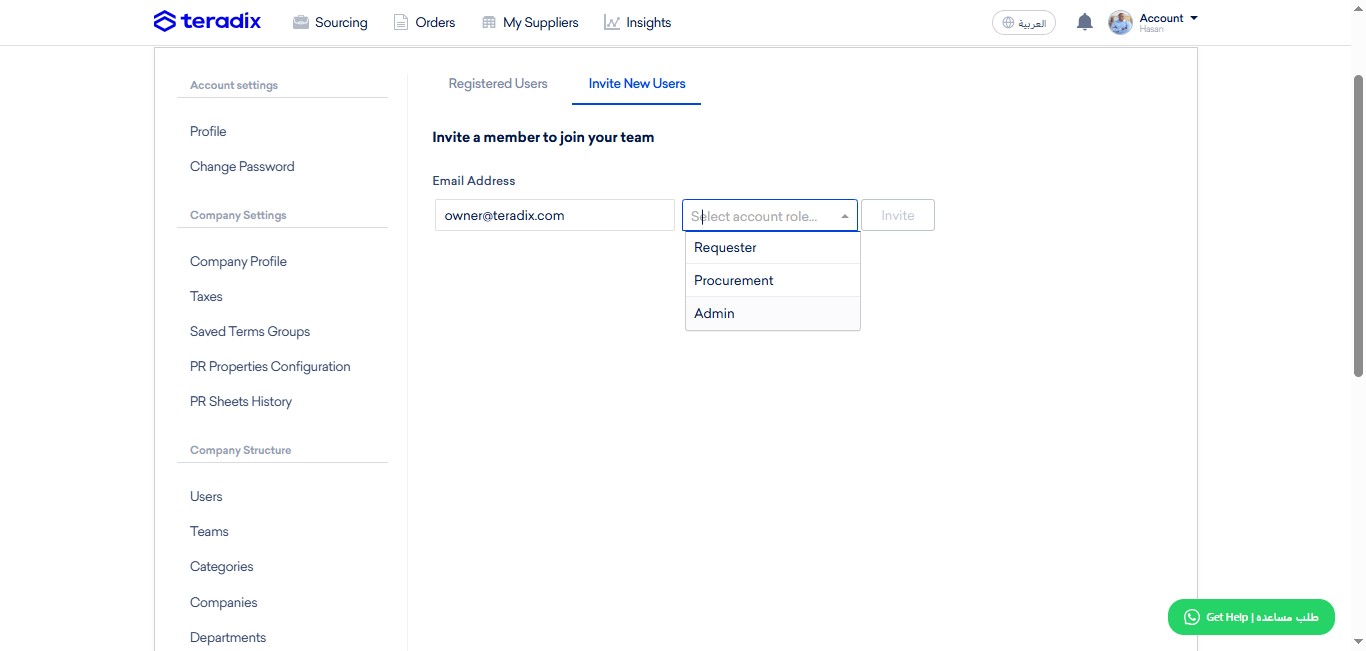
Procurement Role; has a limited individualistic visibility; thus can see only his sourcing events, and personal insights to track personal performance. Procurement can invite only Requester role.
Requester Role; has a very limited individualistic visibility as requester/technical evaluator; thus can see only his Purchase Requests (requested by him or shared-with/assigned as evaluator). NOTE; Requester cannot invite others.
Click on "Invite", after which an email notification will be sent to email address to join in company.
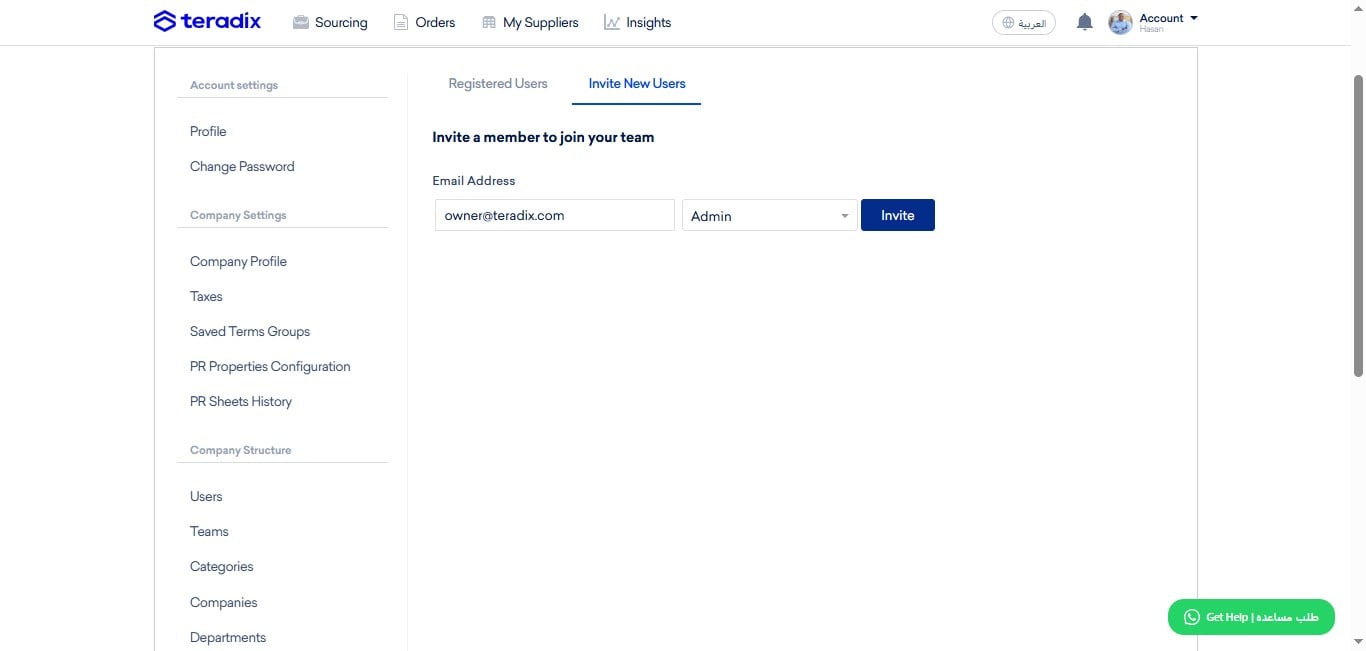
Click on "Resend", only if sentee hasn't responded to the invitation for a while long enough that the 'link to join' expired.
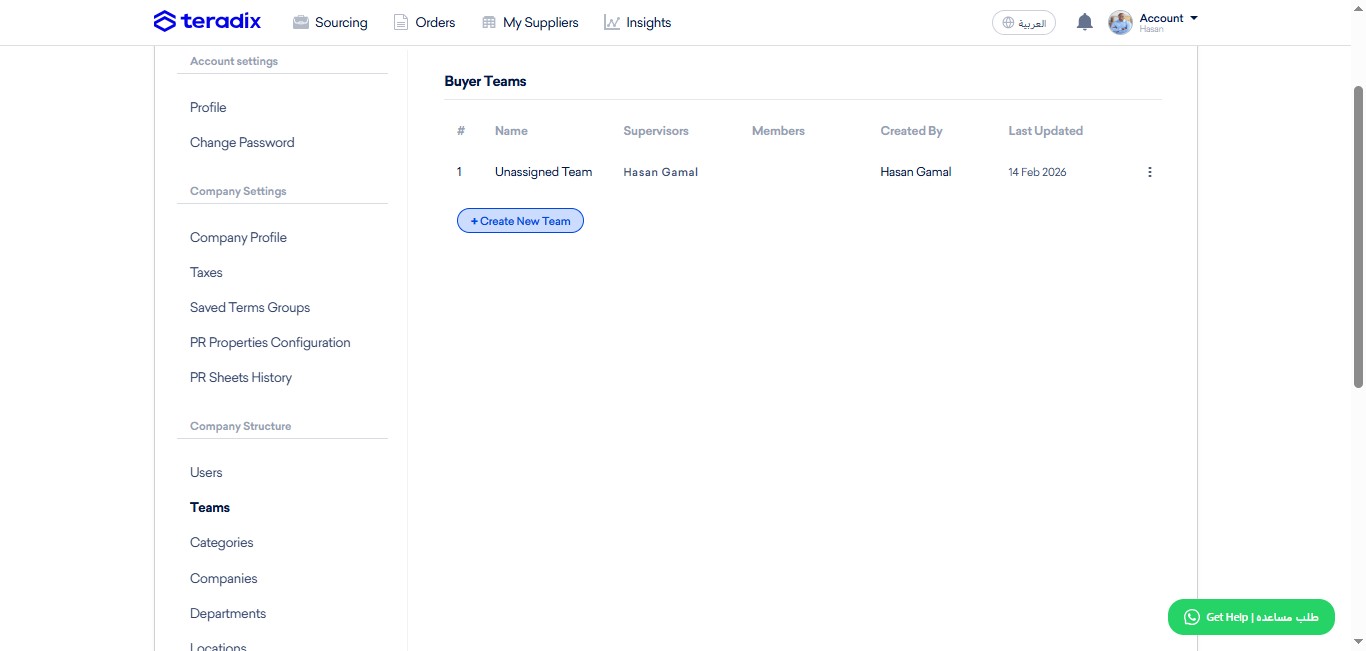
Click on "Teams"; in order to break down procurement team into multiple specialized teams.
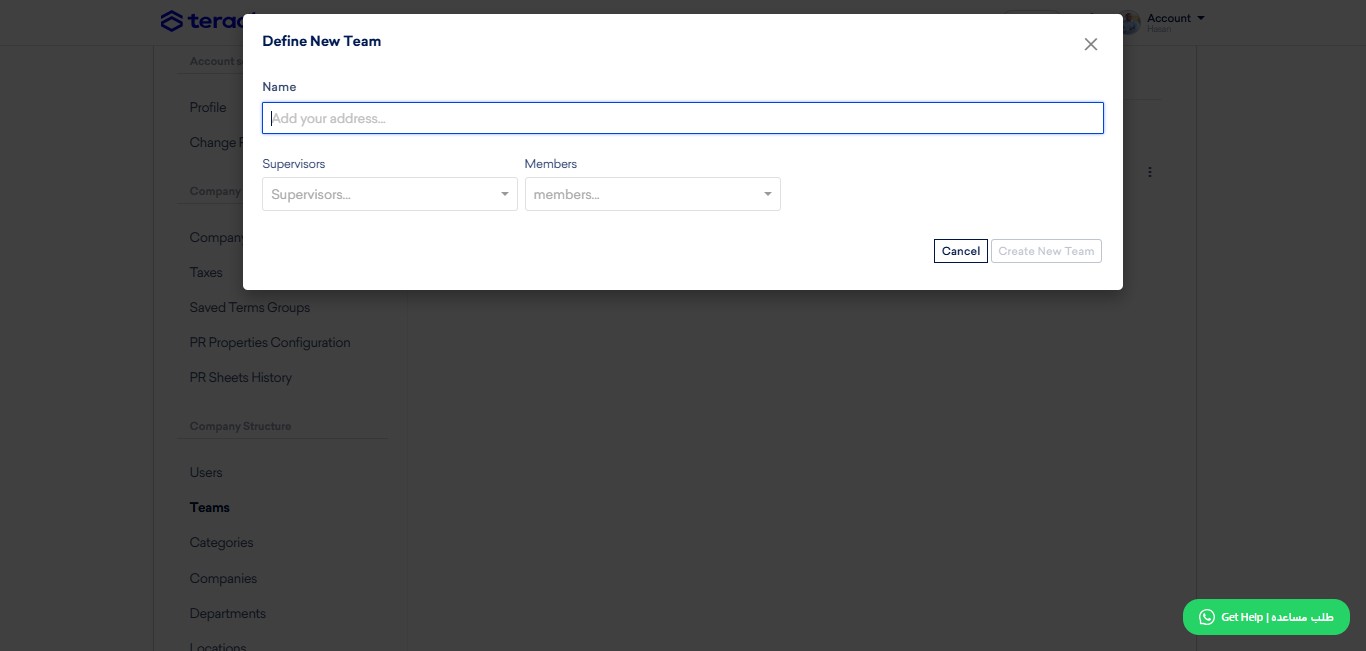
Click on "Create New Team".
Click here to name your specialized team.
Click here to assign a supervisor (head) for this team.
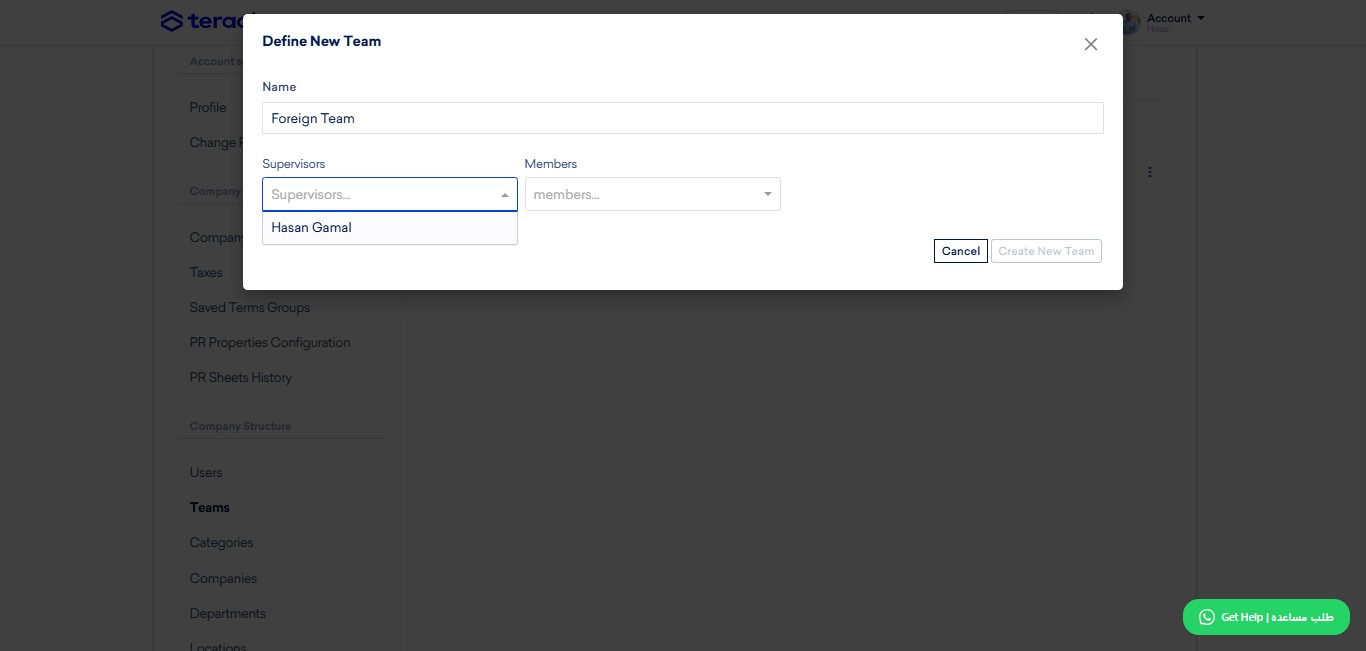
Click here select the members affiliated to this special team.
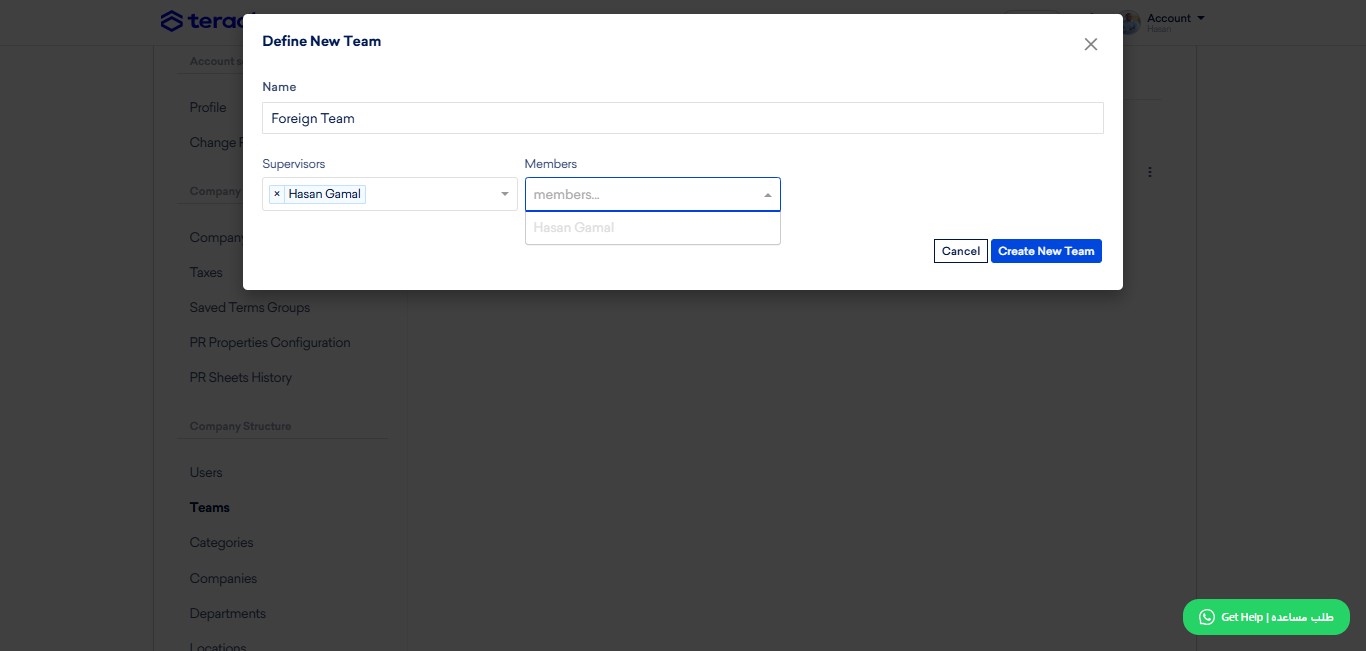
Click on "Create New Team" to save changes.
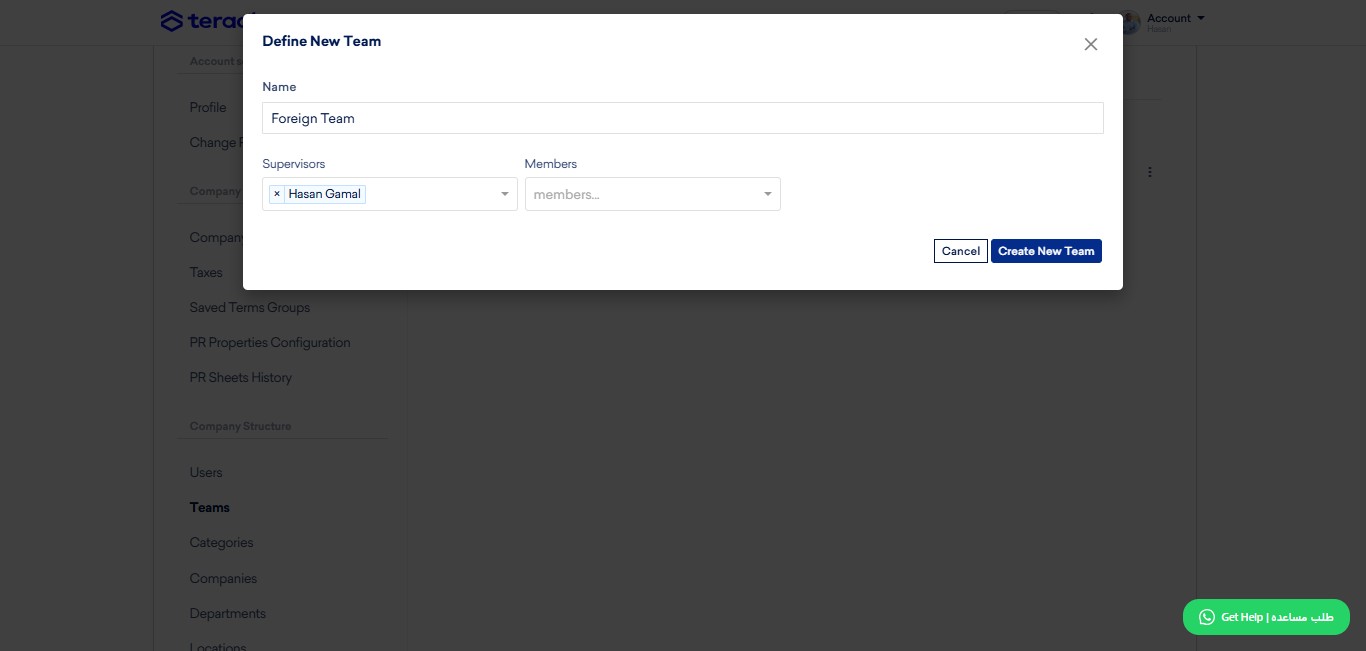
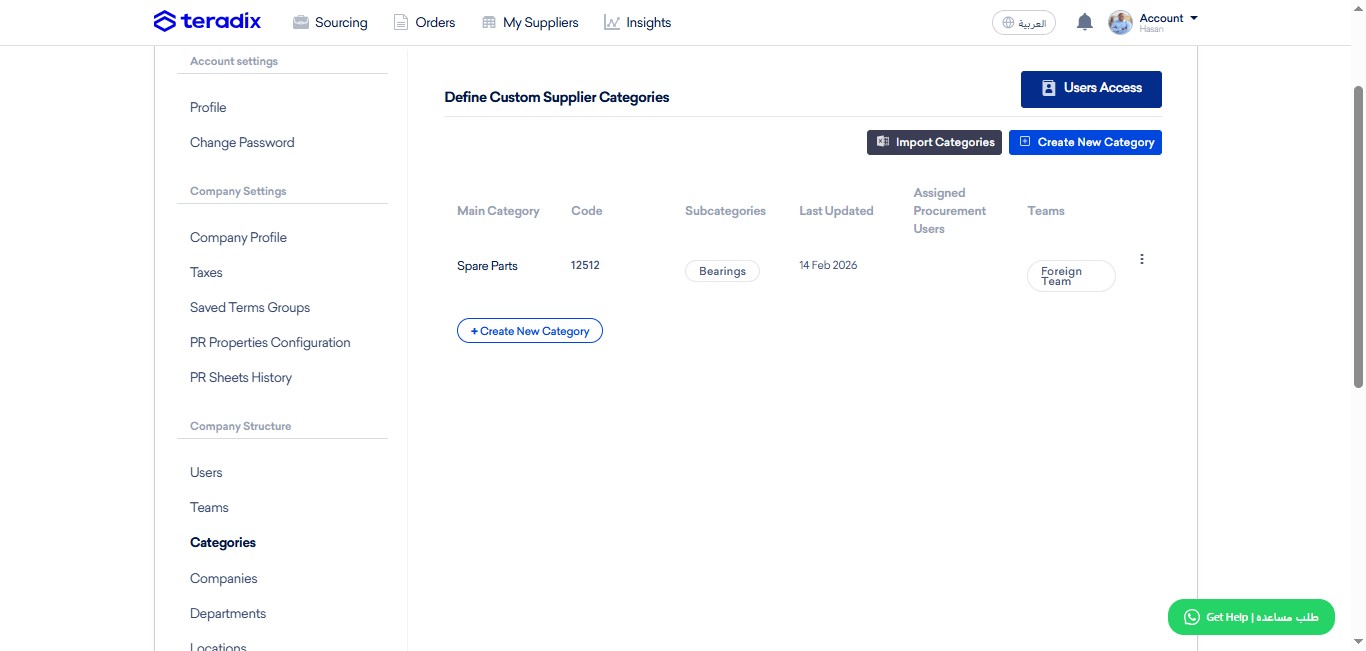
Click on "Categories" to define Suppliers' Categories (and, optionally, subcategories).
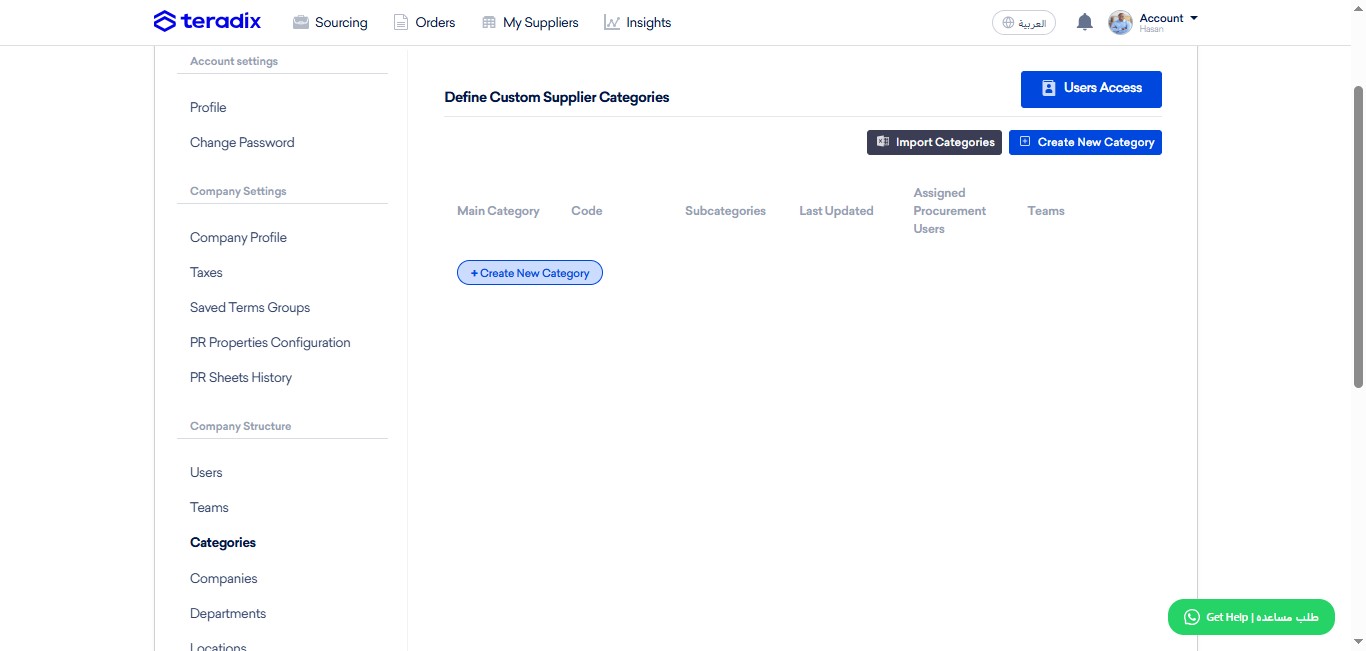
Click on "Create New Category" to add a new category.
Click here to add a name for your new category.
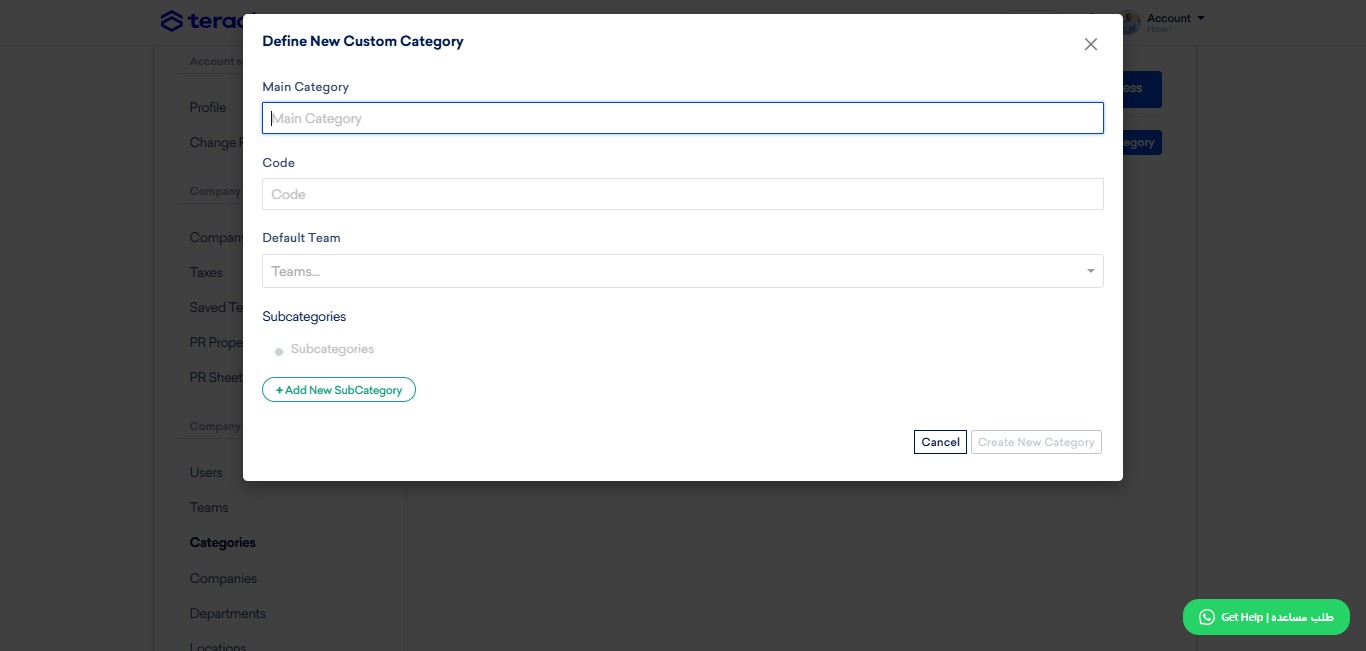
Optionally, add a (ERP) code to your category.
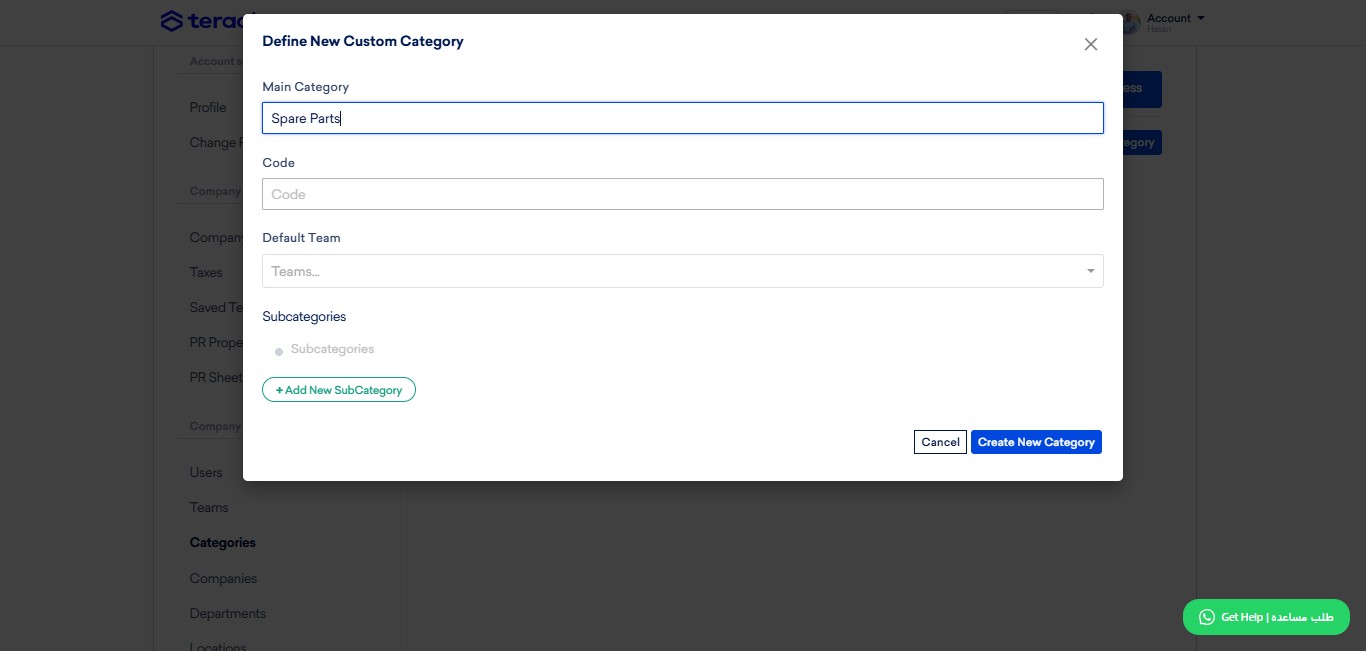
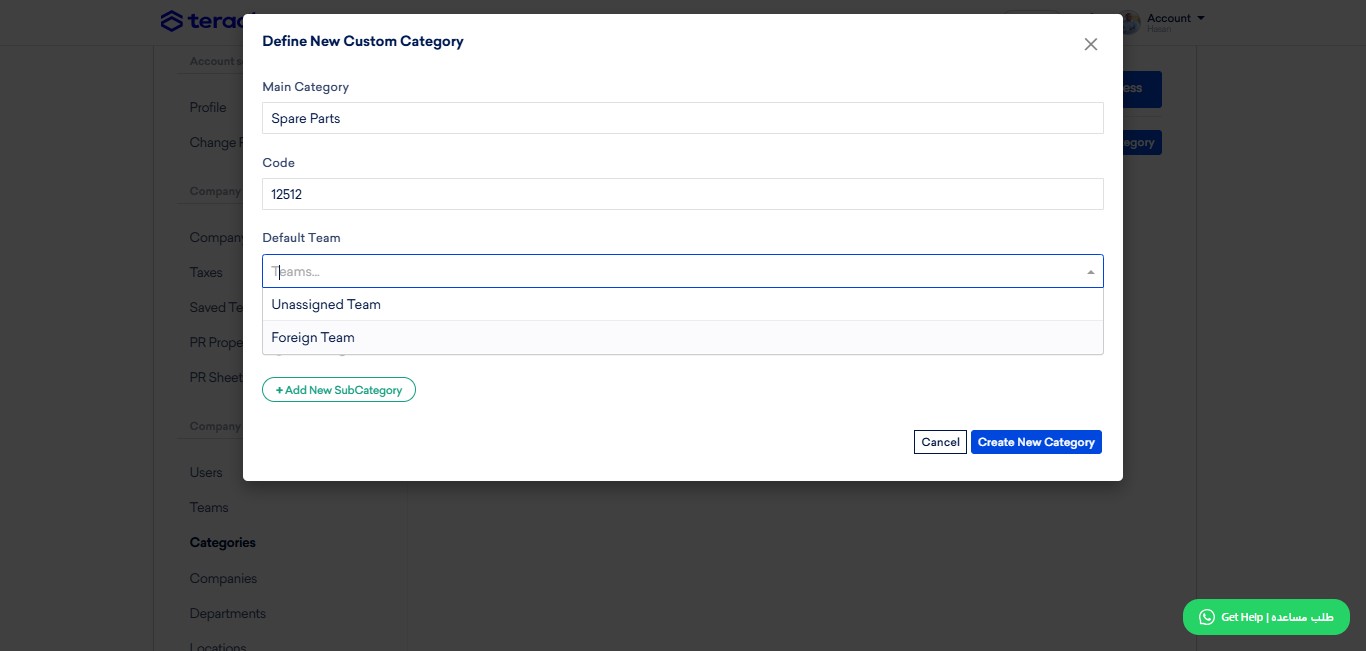
Optionally, click here assign default team for this category.
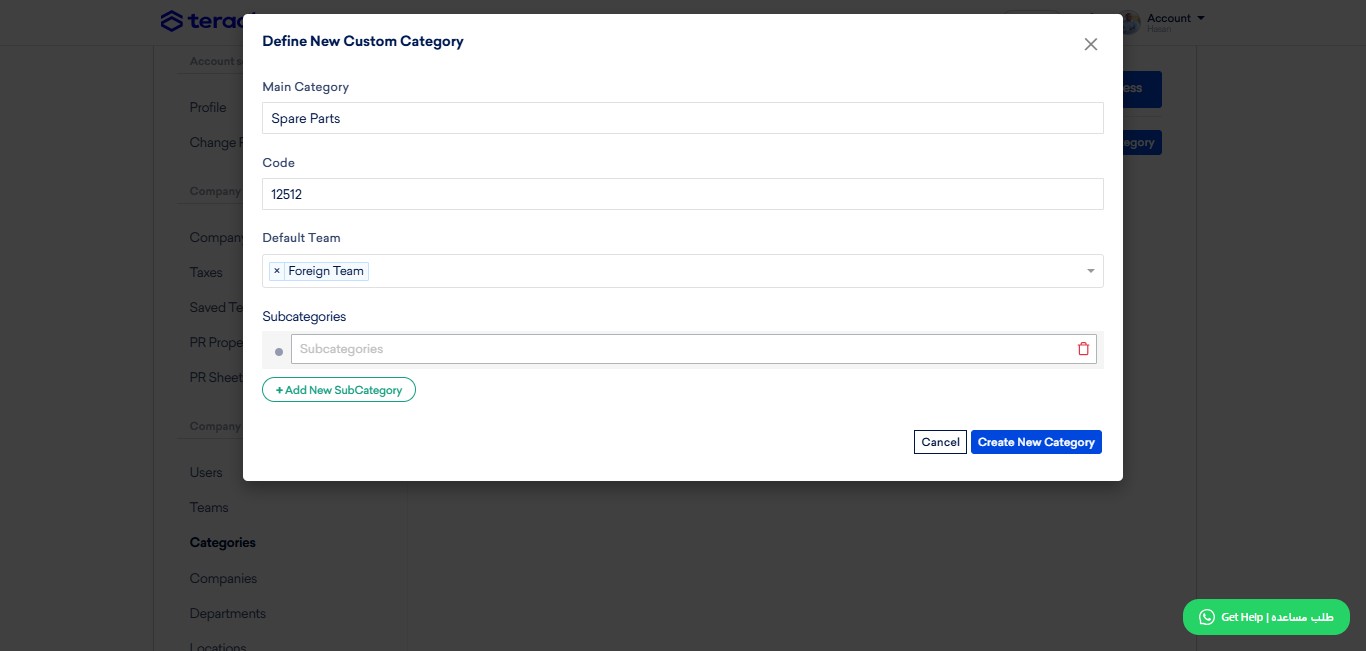
optionally, click here to link add/link a subcategory to this specific category.
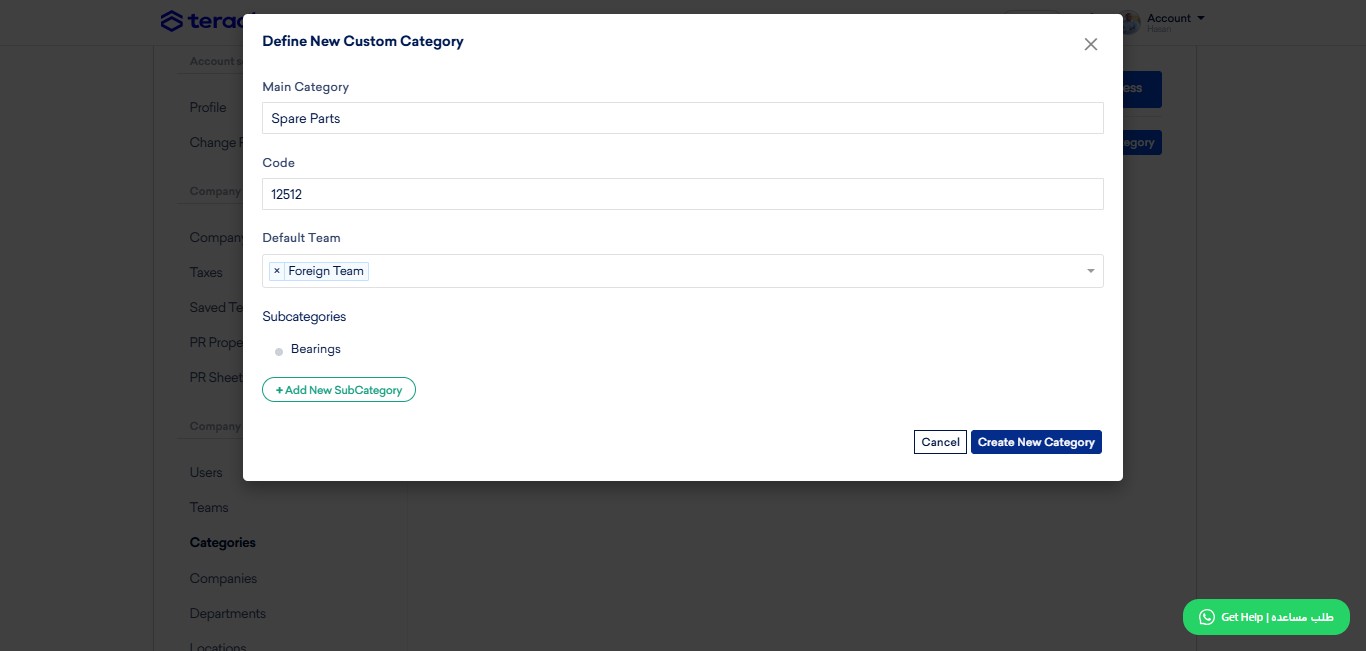
Click on "Create New Category" to finish creating this category.
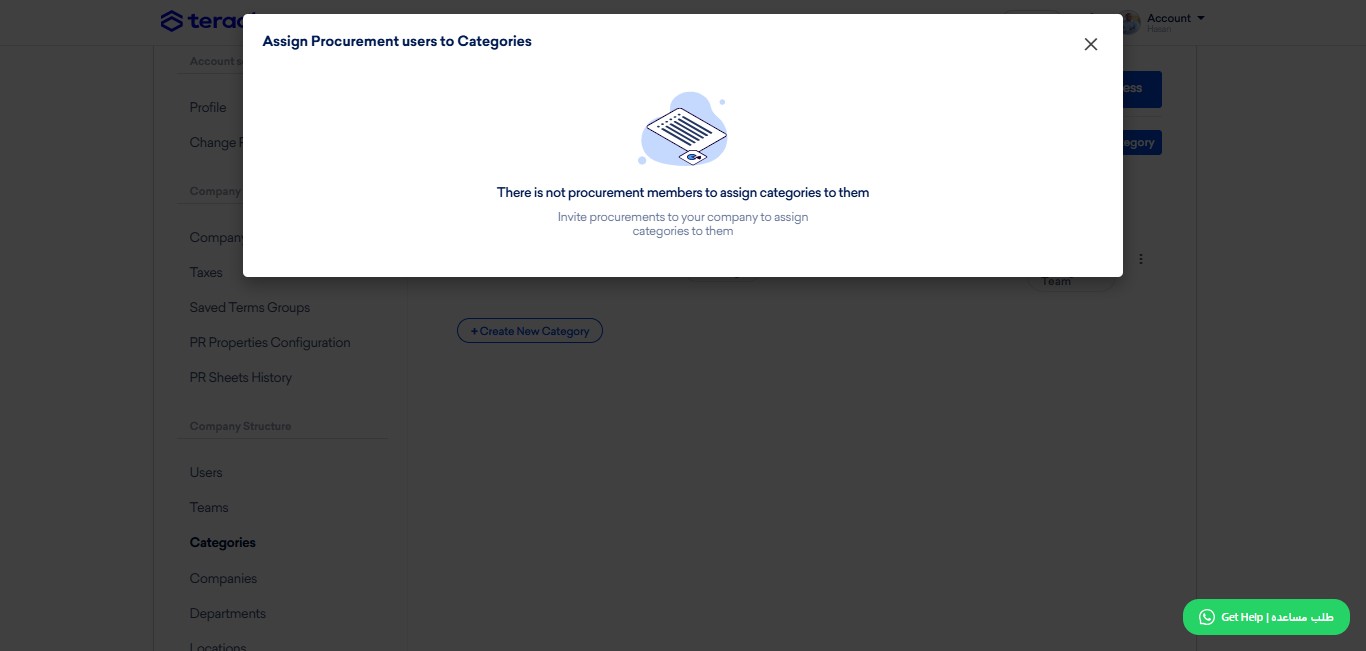
Click on "Users Access"; in order to provide access for users to categories selectively.
New step
Click on "×"
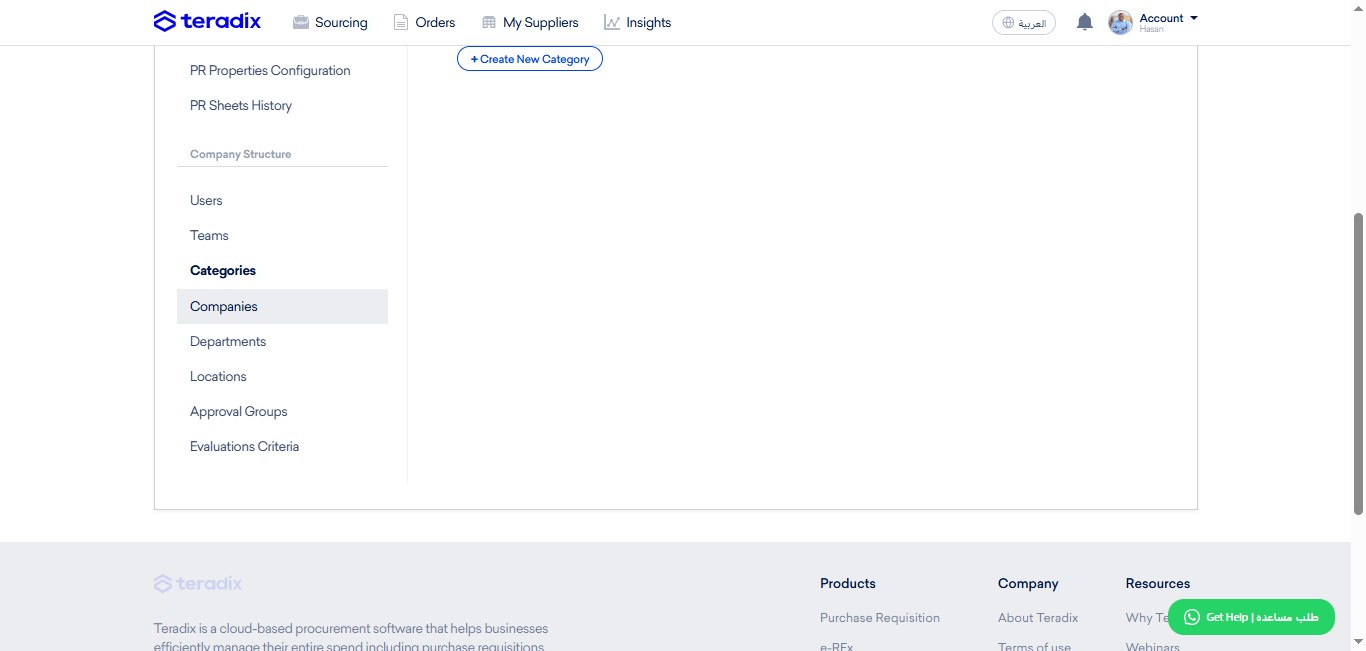
Click on "Companies"
Click on "+"
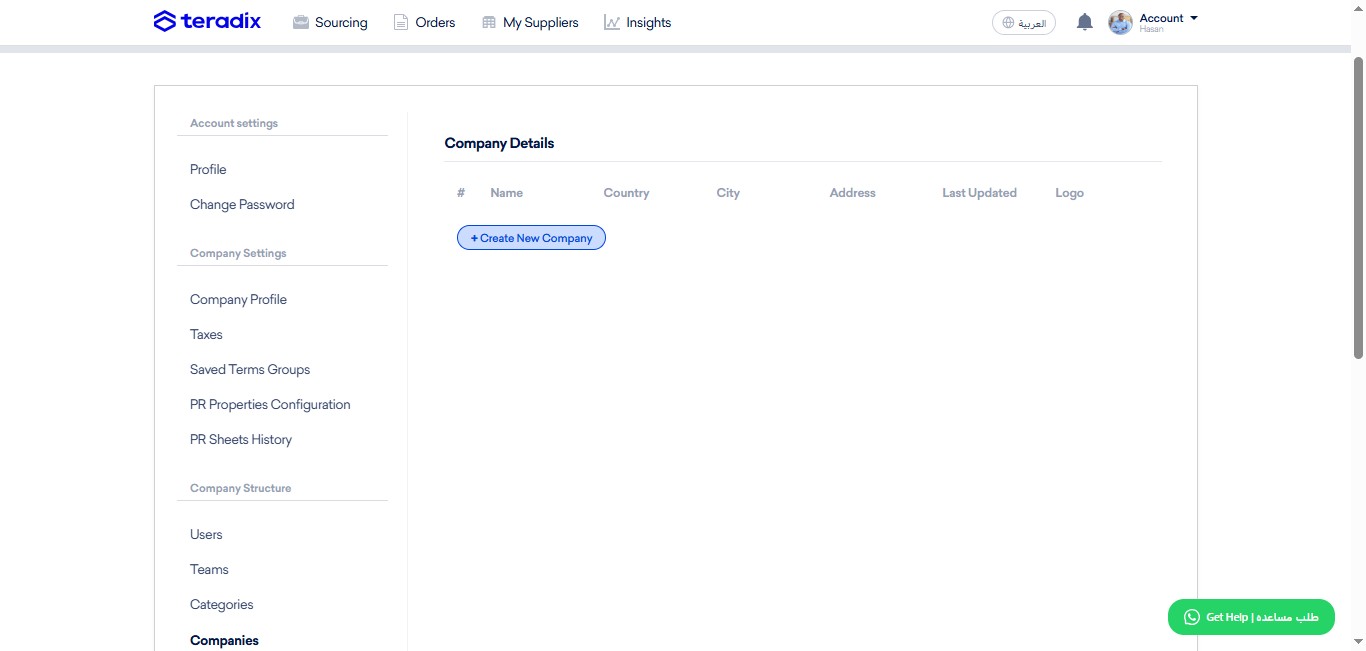
Click here
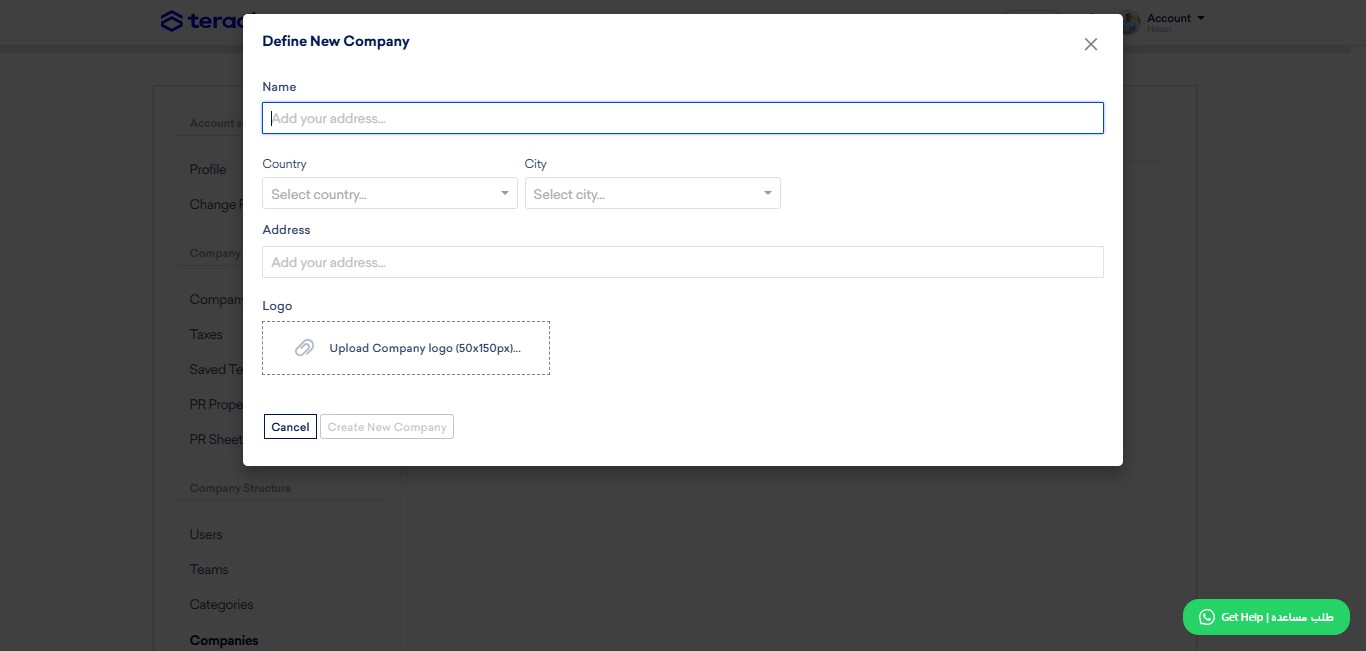
Click here
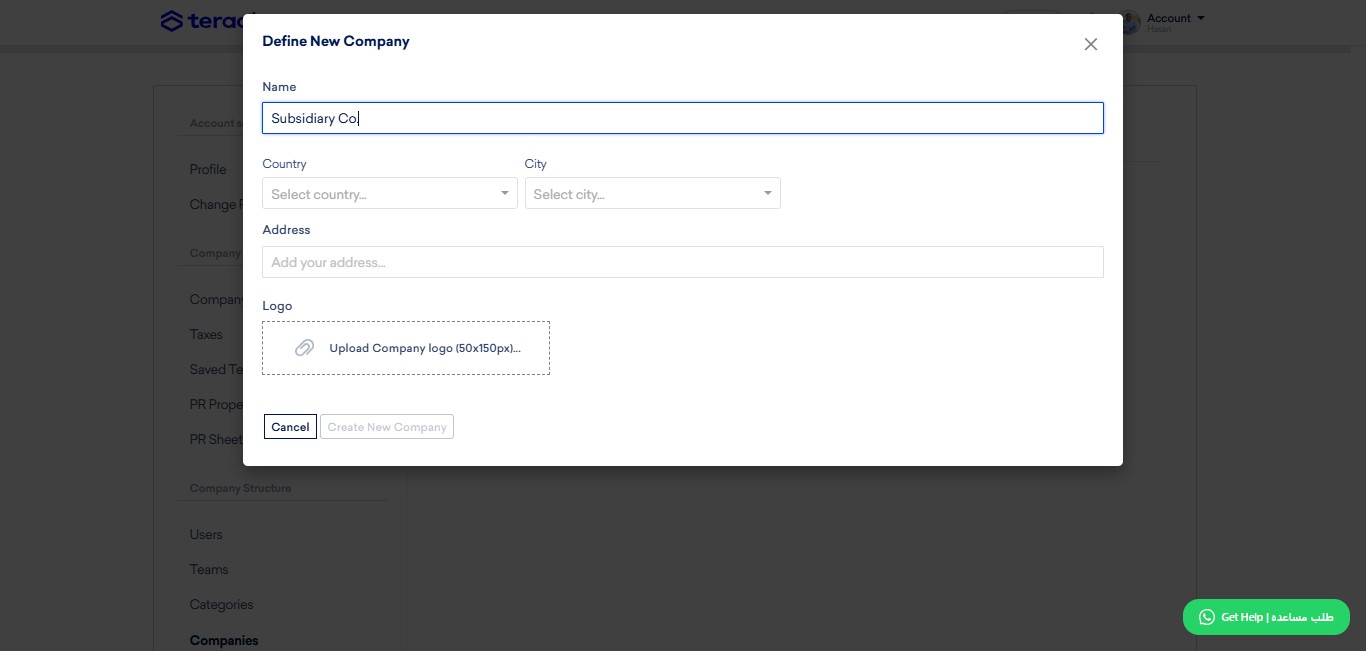
Click on "Egypt"
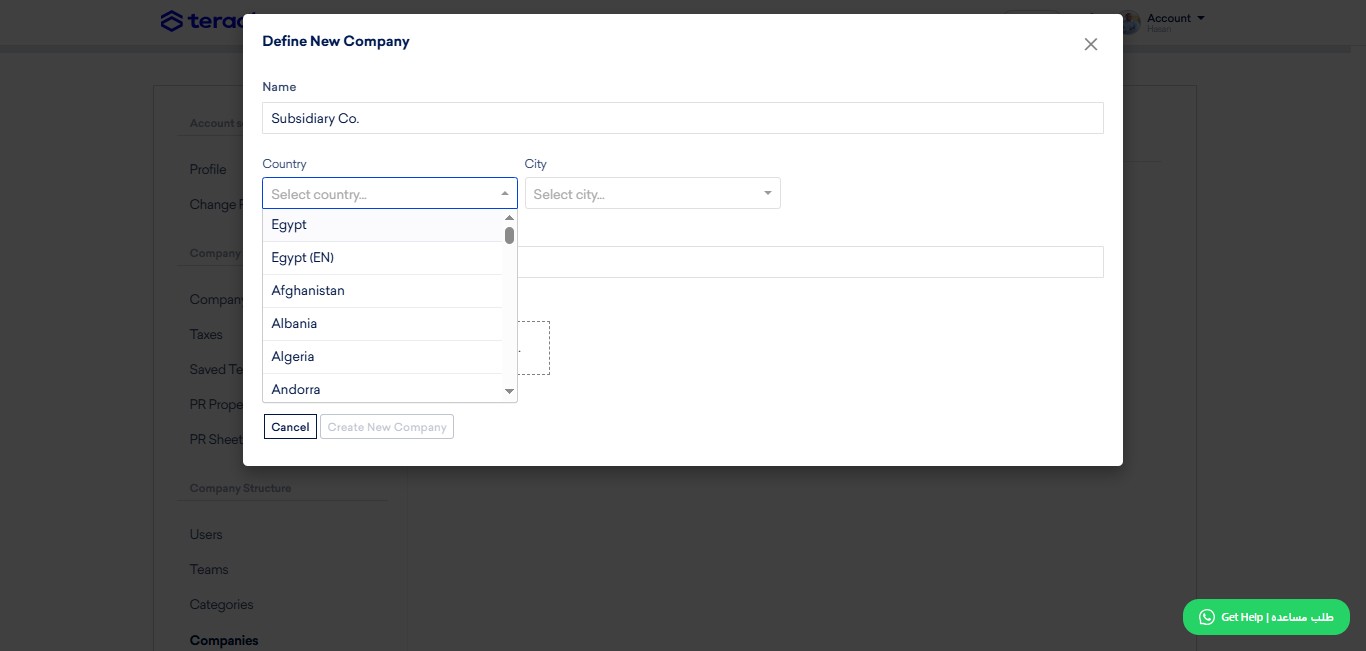
Click here
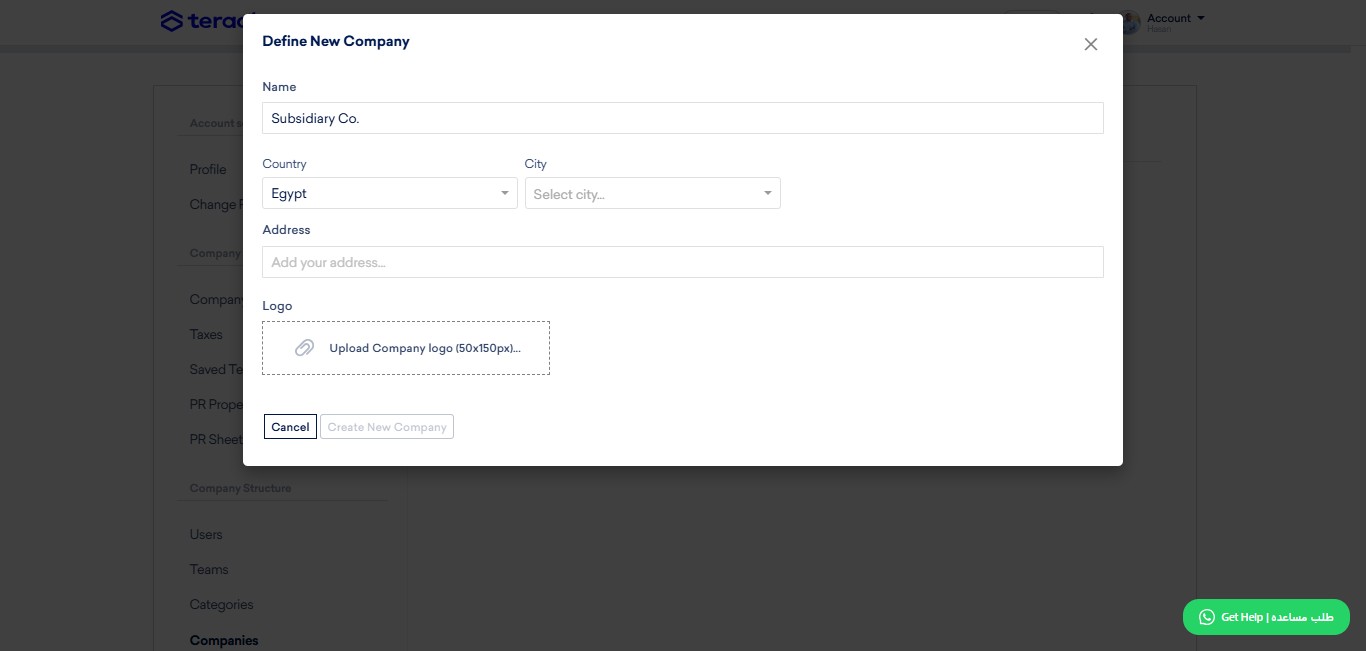
Done 🚀